Tasks from This tutorial
TASKS FOR YOU
🚀 About This Video
Welcome to your very first step into the world of electronics and embedded programming! If you have ever wanted to build your own smart devices, robotics, or interactive hardware, it all starts right here.
In this first episode of our Arduino 101 series, we strip away all the confusing jargon. We will cover exactly what an Arduino is, guide you step-by-step through setting up your software, and write your very first lines of code to take control of physical hardware. By the end of this video, you will have successfully programmed your Arduino to blink an LED!
No prior electronics or coding experience is required—we are starting from absolute zero.
🎯 What You Will Learn
- The Hardware: A quick tour of the Arduino Uno board and its components.
- The Software: How to download, install, and navigate the Arduino IDE.
- The Setup: Connecting your board to your PC and selecting the right COM port.
- The Code: Writing your first firmware (the classic "Blink" sketch) and understanding the
setup()andloop()functions. - The Circuit: How to safely wire an LED and resistor on a breadboard.
🛠️ Prerequisites & Materials Needed
To follow along with this tutorial, you will need a few basic components.
Software Requirements
- Arduino IDE: Free to download for Windows, Mac, and Linux. (Make sure to download the latest version!)
- (Optional) CH340 USB Drivers: If you are using a non-official Arduino clone and your computer doesn't recognize it, you may need to install this driver.
Hardware Bill of Materials (BOM)
- 1x Arduino Uno (R3 or compatible clone)
- 1x USB A-to-B Cable (the one that usually comes with the board)
- 1x Breadboard (Half-size is perfect)
- 1x 5mm LED (Any color)
- 1x 220Ω or 330Ω Resistor (Red-Red-Brown or Orange-Orange-Brown color bands)
- 2x Male-to-Male Jumper Wires
⏱️ Video Chapters / Timestamps
- 0:00 - Introduction: What is an Arduino?
- 1:45 - Hardware Tour: Understanding the Board
- 4:10 - Software Setup: Downloading the Arduino IDE
- 6:30 - Connecting the Arduino to Your Computer
- 8:15 - Writing Your First Program (The Blink Sketch)
- 12:00 - Breadboard Basics & Wiring the LED
- 15:30 - Uploading the Code & Troubleshooting
- 18:00 - Outro & What's Next in Episode 2
🔗 Useful Links & Resources
- Source Code: [Link to your GitHub / Google Drive file here]
- Circuit Diagram: [Link to your circuit diagram / Fritzing sketch here]
- Next Video: [Link to Episode 2]
💬 Got questions or running into errors? Drop a comment below with your issue and I’ll help you troubleshoot! Don't forget to like and subscribe for Episode 2 where we dive into reading sensor data!
Build this project
Recommended by Thinking Robot
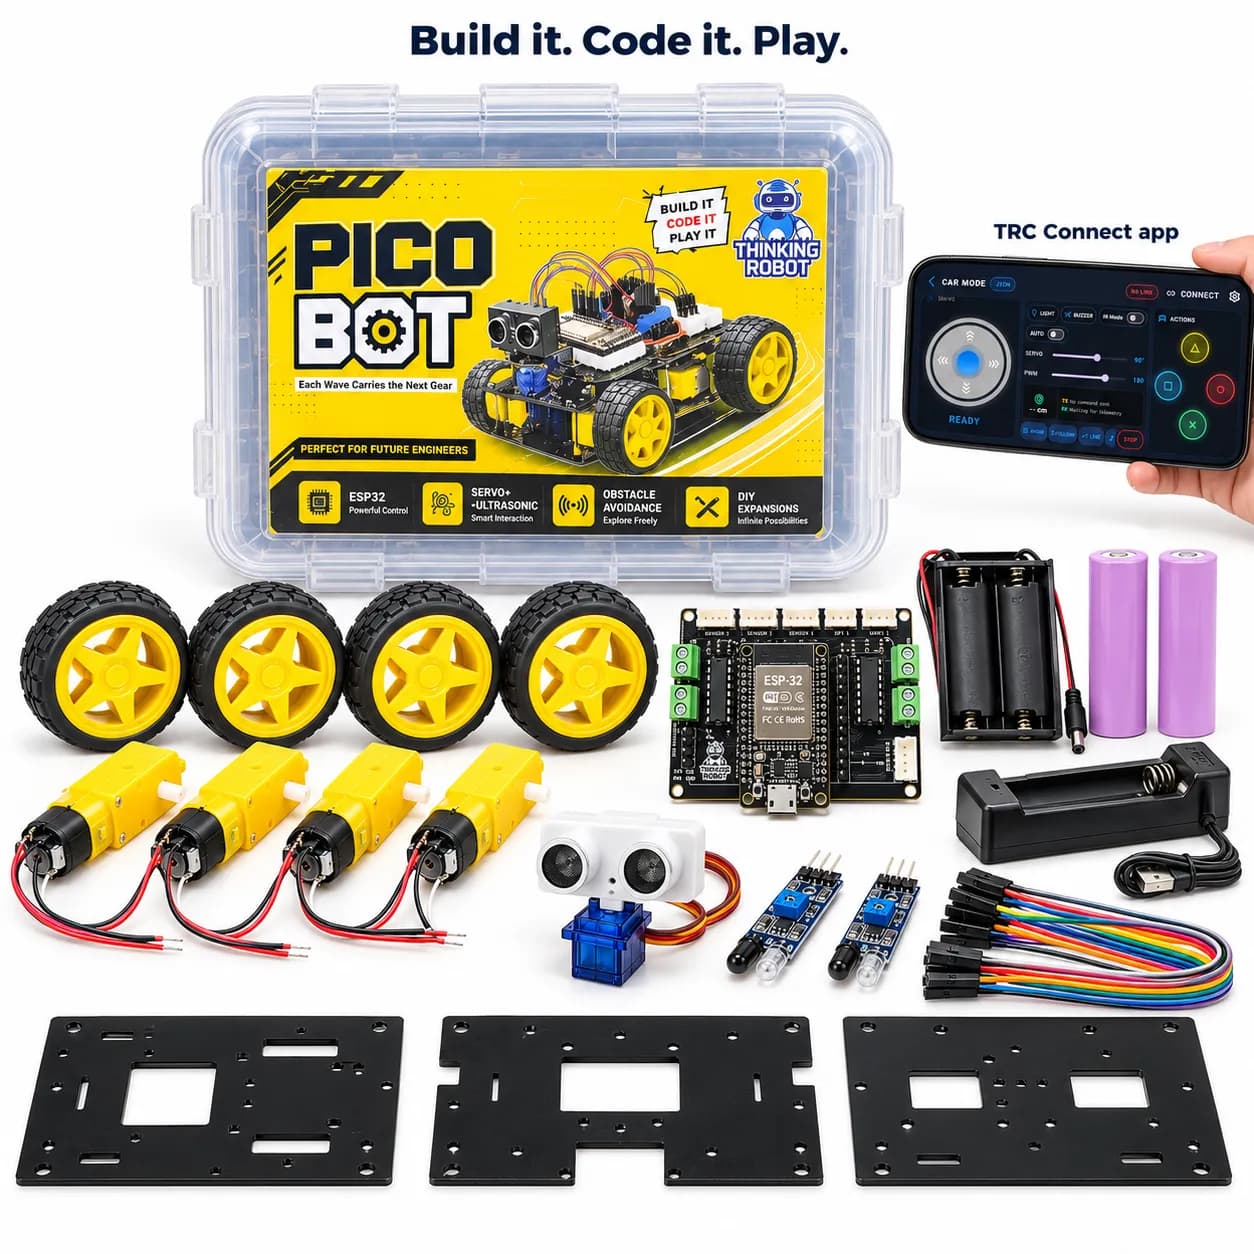
PICO Bot | 4-Wheel Robot With | ESP32 Edition | Thinking Robot Modular Robotics Kit
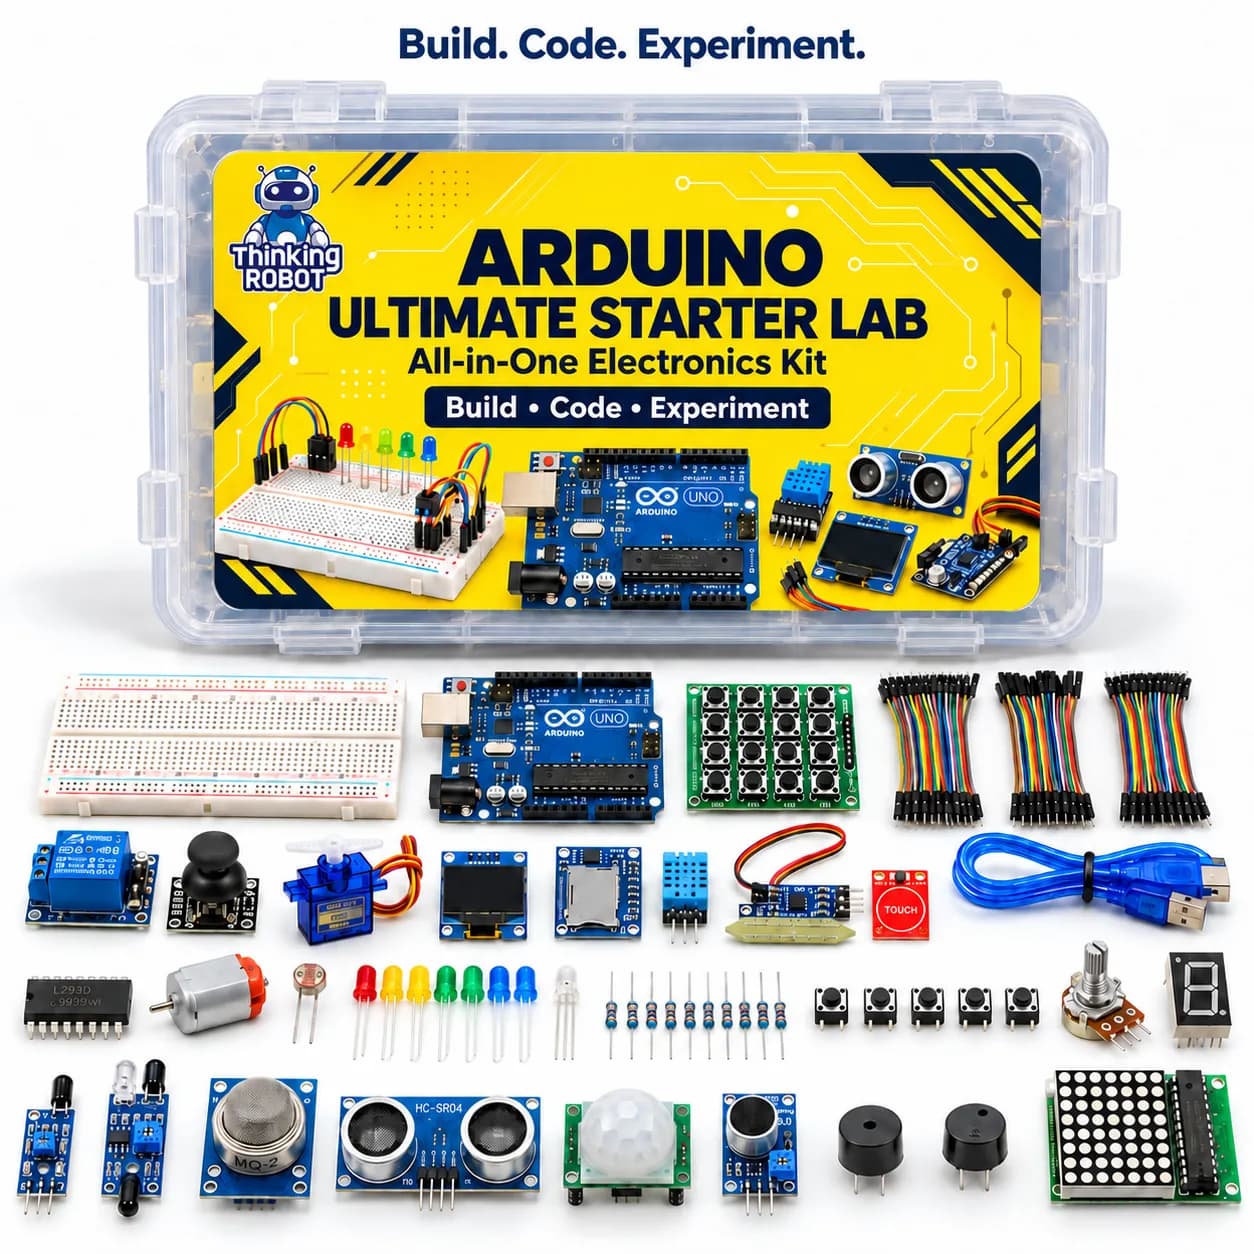
Arduino Ultimate Starter Lab | Thinking Robot Complete Beginner Pack
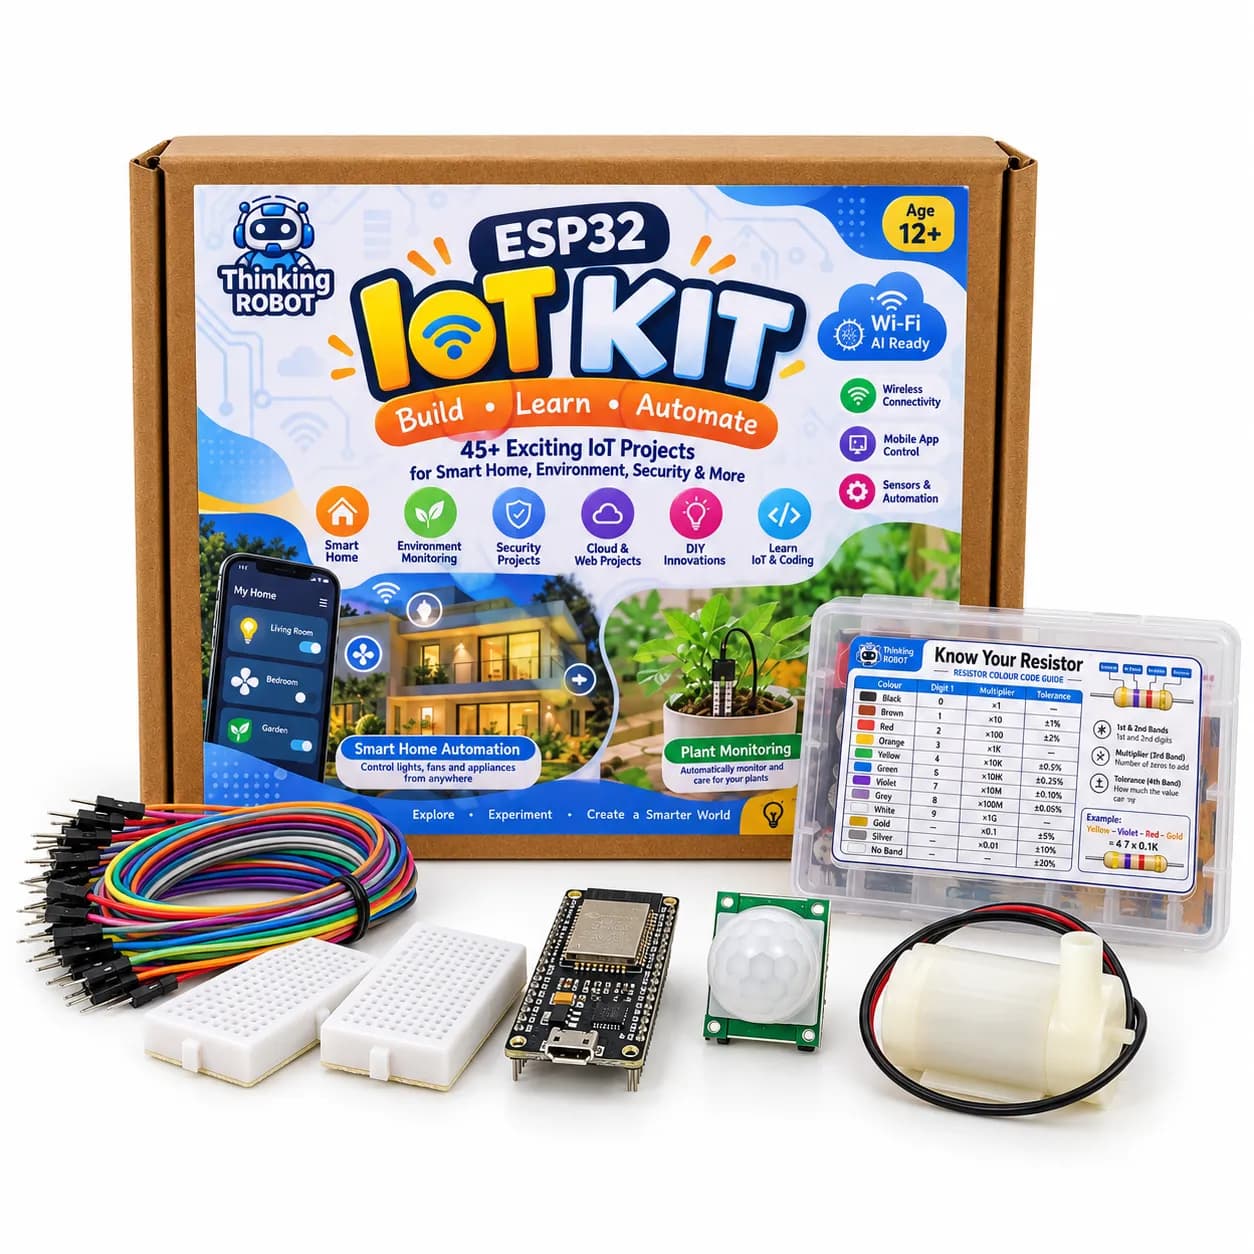
ESP32 IoT Explorer Kit | 45+ Projects | ESp32 And IOT Projects
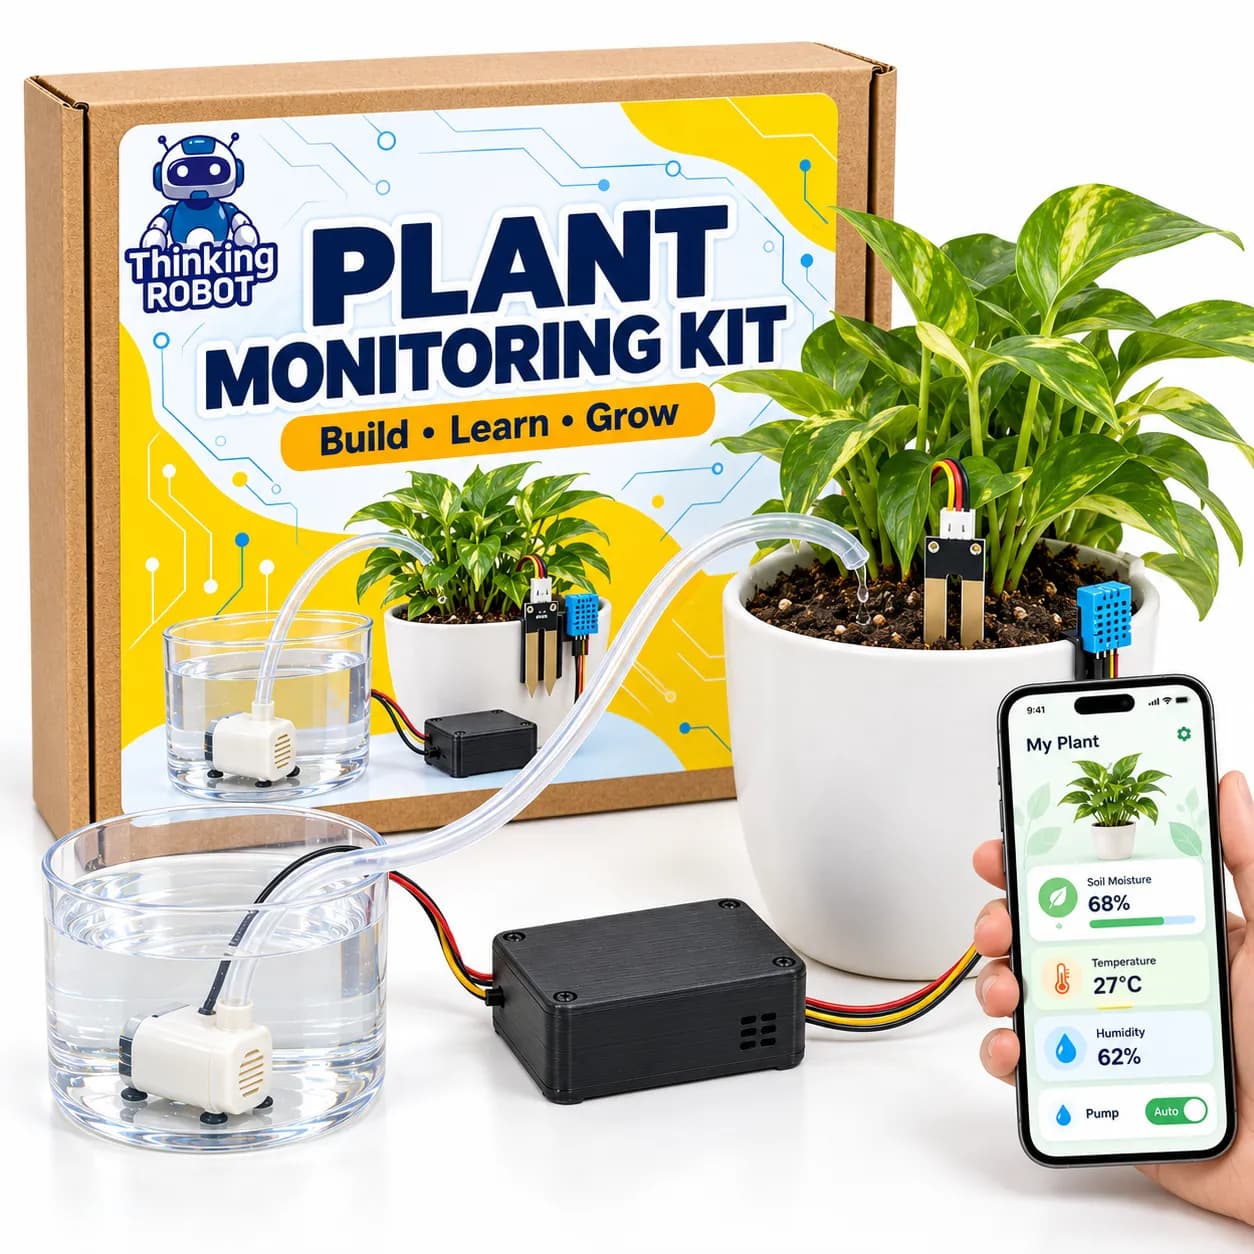
Smart Plant Monitoring and Watering Kit | ESP8266 Automated Gardening System
Discussion
Questions and ideas about Tasks from This tutorial