ESP32 For beginners
Beginner-friendly guide to ESP32, its features, setup, and first IoT projects.
Unlocking the World of IoT: Your Beginner's Guide to ESP32
Have you ever dreamt of building smart gadgets? Devices that can connect to the internet, talk to your phone, or react to their surroundings without being physically wired to a computer? If so, you're about to meet your new best friend: the ESP32.
The ESP32 is a tiny, powerful, and incredibly versatile microchip that has revolutionized the world of hobby electronics and the Internet of Things (IoT). For beginners, it's an ideal starting point because it packs advanced features into an easy-to-use package, making complex projects surprisingly accessible.
In this guide, we'll demystify the ESP32, explaining what it is, why it's so popular, and how you can take your first steps into building your own smart devices.
What is the ESP32?
At its core, the ESP32 is a System-on-a-Chip (SoC) designed by Espressif Systems. Think of it as a tiny computer that combines a processor, memory, and, most importantly for beginners, built-in Wi-Fi and Bluetooth capabilities all on one small chip.
While the ESP32 chip itself is quite small, you'll typically encounter it mounted on a "development board." These boards make it easy to work with by providing:
- USB connectivity: For power and programming.
- GPIO pins: General Purpose Input/Output pins, which are the physical connections you use to link the ESP32 to sensors, LEDs, motors, and other electronic components.
- Voltage regulation: To ensure the chip gets the correct power.
- Reset and Boot buttons: For programming and restarting.

*An example of an ESP32 development board, often called an ESP32 DevKitC or similar.*
Why is the ESP32 a Game-Changer for Beginners?
Before the ESP32, if you wanted to connect a microcontroller project (like one built with an Arduino) to Wi-Fi, you usually needed to buy a separate Wi-Fi module and figure out how to wire and program it. The ESP32 changes all that by integrating these critical features directly onto the chip.
This integration means:
- Simplicity: No need for complex wiring or extra components just to get online.
- Cost-effectiveness: You get a powerful microcontroller with advanced connectivity at a very affordable price point.
- Small Footprint: Its compact size allows for much smaller and more integrated projects.
This combination of power, connectivity, and ease of use makes the ESP32 an unparalleled tool for anyone looking to dive into IoT, home automation, or portable smart devices.
Key Features That Make ESP32 Shine
Let's break down some of the core features that set the ESP32 apart and make it so appealing for beginners:
Powerful Processing
The ESP32 typically features a dual-core processor, meaning it has two "brains" working in parallel. This allows it to handle complex tasks, run your code efficiently, and manage Wi-Fi and Bluetooth communications simultaneously without breaking a sweat. For instance, one core can handle your main application logic while the other manages network communication.
Ample Memory
It comes with a good amount of built-in memory:
- Flash Memory: This is where your program code (firmware) is stored permanently, usually 4MB or more.
- RAM (Random Access Memory): Used for temporary data storage while your program is running. The ESP32 typically has around 520 KB of SRAM, which is significantly more than many other beginner-friendly microcontrollers.
This memory allows you to write more complex programs and handle larger data sets.
Integrated Wireless Connectivity
This is where the ESP32 truly stands out:
- Wi-Fi: Supports 802.11 b/g/n, enabling your projects to connect to your home Wi-Fi network, access the internet, or even act as a small web server or access point.
- Bluetooth: Includes both Bluetooth Classic (for connecting to older devices like headphones) and Bluetooth Low Energy (BLE), which is perfect for low-power communication with smartphones and other modern devices.
Versatile GPIO Pins
The General Purpose Input/Output (GPIO) pins are the interface between your ESP32 and the outside world. You can configure these pins to:
- Input: Read signals from sensors (e.g., temperature, light, motion).
- Output: Control external components (e.g., turn an LED on/off, control a motor).
Beyond simple digital input/output, many GPIO pins on the ESP32 have special functions:
- Analog-to-Digital Converter (ADC): Converts analog signals (like voltage from a dimmer switch or a temperature sensor) into digital values the ESP32 can understand.
- Digital-to-Analog Converter (DAC): Converts digital values from the ESP32 into analog voltage signals (useful for audio output or controlling analog devices).
- Pulse Width Modulation (PWM): Allows you to simulate analog output with digital pins, used for dimming LEDs, controlling motor speeds, and generating tones.
- Communication Protocols (I2C, SPI, UART): These are standard ways for the ESP32 to talk to other chips and sensors using specific "languages." You'll learn about these as you progress.
Why Choose ESP32 for Your First IoT Project?
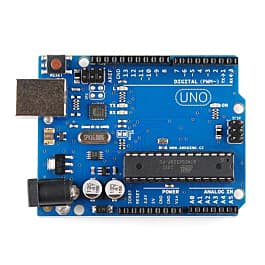
Comparing the ESP32 to other popular microcontrollers often used by beginners, like the Arduino Uno, clearly highlights its advantages for IoT-focused projects:
| Feature | Arduino Uno | ESP32 Development Board |
|---|---|---|
| Processor Speed | 16 MHz | Up to 240 MHz (Dual-core) |
| RAM | 2 KB | ~520 KB |
| Flash Memory | 32 KB | 4 MB (or more) |
| Built-in Wi-Fi | No (requires external module) | Yes |
| Built-in Bluetooth | No (requires external module) | Yes (Classic and BLE) |
| ADC Pins | 6 | ~15 (varies by board) |
| DAC Pins | No | 2 |
| Cost | Moderate | Very affordable |
| Complexity for IoT | High (due to external modules) | Low (integrated features) |
As you can see, for anything involving connecting to the internet or other devices wirelessly, the ESP32 offers a significant head start. Its powerful hardware also means you won't quickly outgrow it as your projects become more ambitious.
Getting Started with Your ESP32
Ready to dive in? Here’s what you’ll need and how to set up your environment:
What You'll Need
- An ESP32 Development Board: You can find various models, such as the ESP32 DevKitC, ESP32-WROOM-32D, or NodeMCU-32S. Any standard development board with a USB port will work for beginners.
- A USB-A to Micro-USB or USB-C Cable: (Check your board's USB port type). This cable powers the board and allows you to upload your programs.
- A Computer: (Windows, macOS, or Linux).
- Arduino IDE: A free, open-source software environment that makes programming microcontrollers easy.
Setting Up the Arduino IDE for ESP32
The Arduino IDE is fantastic because it allows you to write code in a simplified C++ language and upload it to many different microcontrollers, including the ESP32.
Step 1: Install the Arduino IDE
If you don't have it already, download and install the latest version of the Arduino IDE from the official Arduino website: https://www.arduino.cc/en/software
Step 2: Add ESP32 Board Manager URL
The Arduino IDE needs to know how to communicate with and compile code for the ESP32.
- Open the Arduino IDE.
- Go to
File > Preferences(orArduino > Preferenceson macOS). - In the "Additional Boards Manager URLs" field, paste the following URL:
https://raw.githubusercontent.com/espressif/arduino-esp32/gh-pages/package_esp32_index.json - If you have other URLs already, you can add this one on a new line or separate them with a comma.
- Click
OK.

*Screenshot showing where to paste the ESP32 Board Manager URL in Arduino IDE preferences.*
Step 3: Install the ESP32 Boards
- Go to
Tools > Board > Boards Manager.... - In the Boards Manager search bar, type
esp32. - Find "esp32 by Espressif Systems" and click the
Installbutton. This might take a few minutes as it downloads necessary files.

*Screenshot showing how to install ESP32 boards in the Arduino IDE Boards Manager.*
Step 4: Select Your ESP32 Board
- Connect your ESP32 board to your computer using the USB cable.
- In the Arduino IDE, go to
Tools > Board > ESP32 Arduino. - Select your specific ESP32 development board (e.g., "ESP32 Dev Module" is a common choice that works for many generic boards).
- Go to
Tools > Portand select the serial port corresponding to your ESP32. It might appear as/dev/cu.usbserial-XXXXon macOS/Linux orCOMXon Windows. If you're unsure, disconnect and reconnect your board to see which new port appears.

*Screenshot showing where to select your ESP32 board and port in the Arduino IDE.*
Your First Program: Blinking an LED
Let's write the classic "Hello World" of microcontrollers – blinking an LED. Your ESP32 development board usually has a built-in LED (often connected to GPIO2).
-
Open a new sketch in the Arduino IDE (
File > New). -
Copy and paste the following code:
void setup() { // Initialize the onboard LED pin as an output // Many ESP32 boards have an LED on GPIO2 pinMode(2, OUTPUT); } void loop() { digitalWrite(2, HIGH); // Turn the LED on (HIGH is the voltage level) delay(1000); // Wait for a second (1000 milliseconds) digitalWrite(2, LOW); // Turn the LED off by setting the voltage LOW delay(1000); // Wait for a second } -
Click the "Verify" button (checkmark icon) to compile your code. This checks for errors.
-
Click the "Upload" button (right arrow icon) to send the code to your ESP32.
- Important: While uploading, you might need to press and hold the "BOOT" button on your ESP32 board, then release it when the upload starts (you'll see "Connecting...." in the console). Some boards are more automatic, but if you have trouble uploading, try this trick.
Once uploaded, your ESP32's onboard LED should start blinking! Congratulations, you've just programmed your first smart device.
Simple Project Ideas for Beginners
Now that you know the basics, let's explore some simple projects that leverage the ESP32's unique capabilities:
1. Wi-Fi Controlled LED
Instead of just blinking, imagine turning an LED on or off from your phone or computer over Wi-Fi.
- Concept: The ESP32 can host a small web server. You can access this server from any device on the same Wi-Fi network using a web browser. The web page would have buttons to toggle the LED.
- Skills Learned: Connecting to Wi-Fi, setting up a basic web server, handling HTTP requests.
- Code Hint: Use the
WiFi.handWebServer.hlibraries.
2. Reading a Temperature Sensor and Displaying it on a Web Page
Make your ESP32 a mini weather station!
- Concept: Connect a simple digital temperature sensor (like a DHT11 or DHT22) to your ESP32. The ESP32 reads the temperature, then displays it on a web page accessible from your local network.
- Skills Learned: Interfacing with a digital sensor, displaying data on a web server.
- Code Hint: Use the
DHT.hlibrary for the sensor andWebServer.hfor the web server.

*Conceptual diagram of an ESP32 reading a temperature sensor and serving data via Wi-Fi.*
3. Bluetooth Low Energy (BLE) Advertisement
Send small bits of information to your phone wirelessly without needing a Wi-Fi router.
- Concept: The ESP32 can act as a BLE "advertiser," broadcasting small packets of data that your smartphone (with a suitable app) can pick up. You could broadcast a custom message, battery level, or a simple status.
- Skills Learned: Understanding BLE advertising, using the
BLEDevice.hlibrary. - Code Hint: This is slightly more advanced but a great introduction to BLE. Look for examples of
BLEAdvertisingin the ESP32 Arduino examples.
Conclusion
The ESP32 is an incredibly powerful and accessible platform for anyone looking to step into the world of electronics and the Internet of Things. Its built-in Wi-Fi and Bluetooth, combined with its processing power and affordability, make it the ideal choice for beginners who want to build smart, connected devices.
You've learned what the ESP32 is, why it's special, and how to get your development environment set up. With just a few lines of code, you can bring your ideas to life and create projects that interact with the digital world.
Your Next Steps
- Experiment with the Blink sketch: Change the delay times, try different GPIO pins (if you connect an external LED).
- Explore the Arduino IDE Examples: Go to
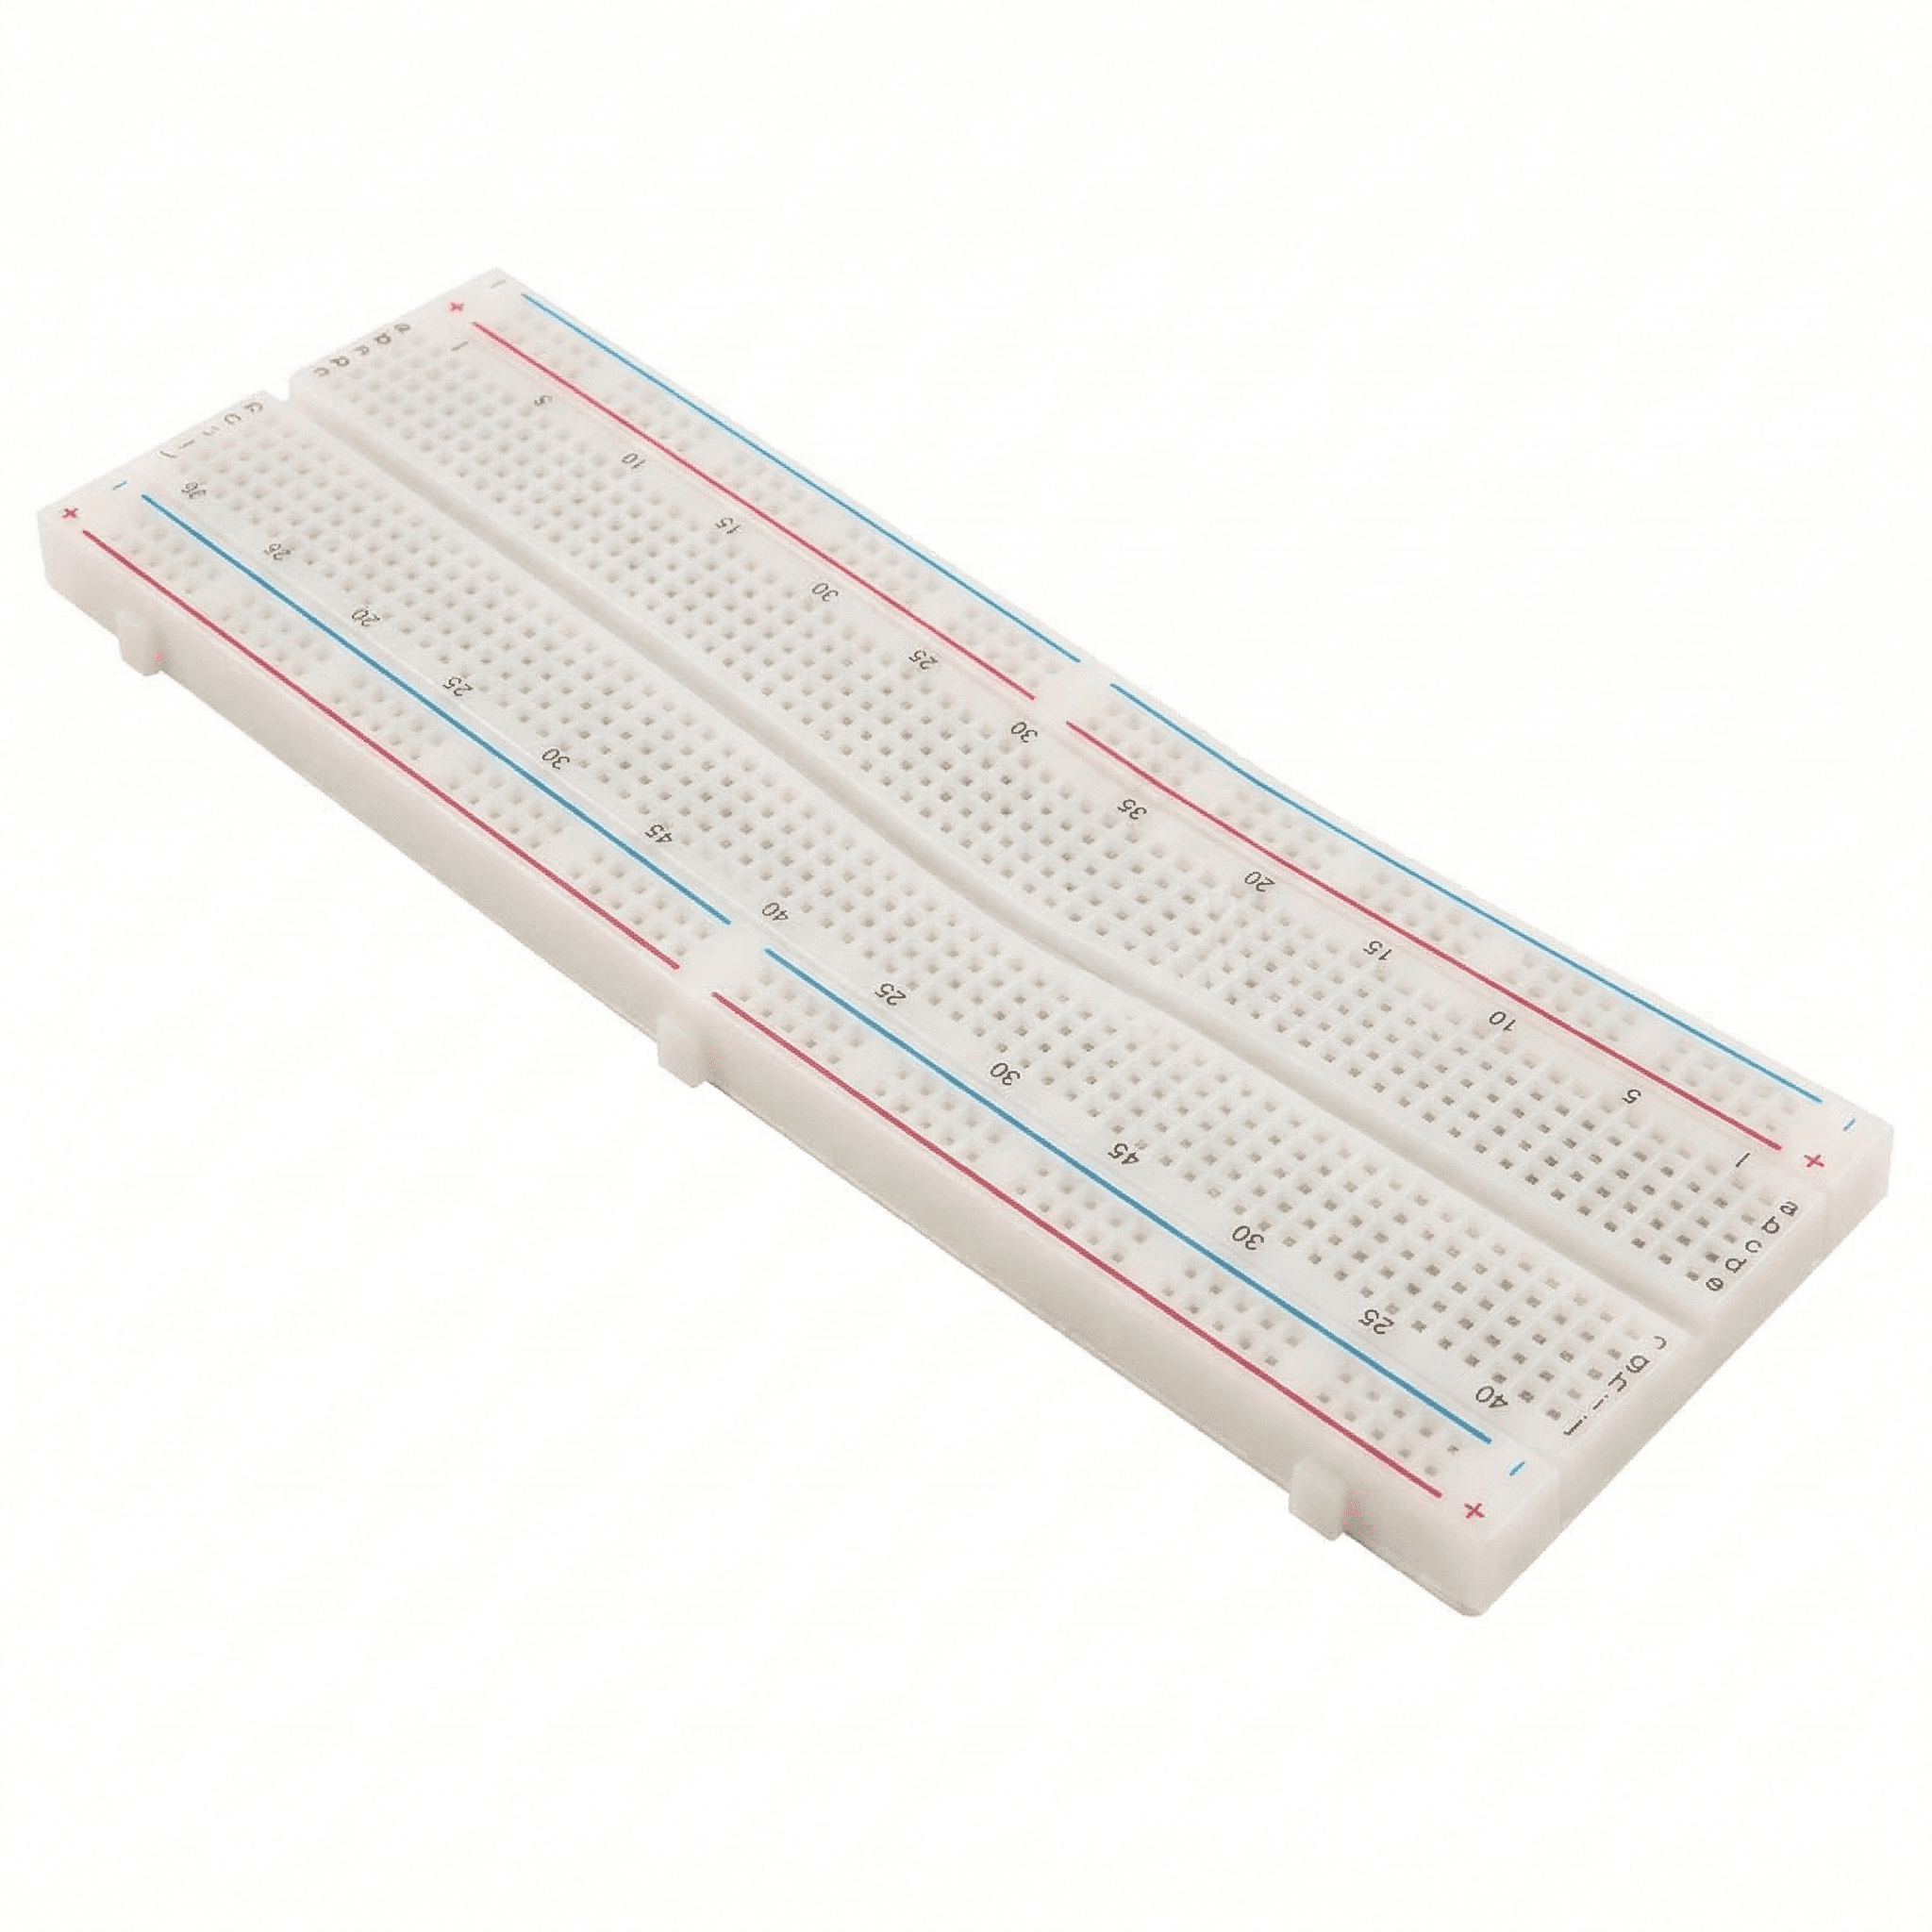
File > Examples > ESP32to find a wealth of pre-written code for Wi-Fi, Bluetooth, sensors, and more. - Get a Breadboard and Components: Grab a breadboard, some LEDs, resistors, and a basic sensor (like a DHT11 temperature sensor) to start building more complex circuits.
- Join the Community: Search for ESP32 forums, Facebook groups, or YouTube channels. The ESP32 community is vibrant and a great resource for learning and troubleshooting.
The world of IoT is at your fingertips – happy tinkering!