How to Power Your Robotics Projects: A Beginner's Guide
Learn how to choose the right batteries, voltage regulators, and power delivery setups for your beginner robotics projects safely and efficiently.

Building your first robot is an exciting milestone. You wire up your microcontrollers, write the code, attach the motors, and get ready to watch it move. But when you flip the power switch, unexpected things happen: the motors turn sluggishly, the controller resets randomly, or nothing works at all.
More often than not, the culprit is an inadequate power system.
Powering a robotics project involves more than just plugging in a random battery. Robots rely on two very different types of electrical components: delicate logic electronics (like microcontrollers and sensors) and power-hungry mechanical actuators (like DC motors and servos). Understanding how to balance voltage, current, and power delivery is essential for building a reliable, safe, and long-lasting robot.
This guide breaks down everything you need to know about powering your beginner robotics projects, from electrical fundamentals to battery selection and voltage regulation.
1. Electrical Fundamentals for Robotics
Before picking a battery, you need to understand three core electrical metrics: Voltage, Current, and Capacity.
Voltage (V)
Voltage represents the electrical pressure supplied by your power source. Think of it like water pressure in a pipe. Every electronic component has a specific operating voltage range:
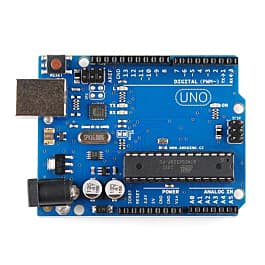
- Microcontrollers like the Arduino Uno work logic circuits at 5V.
- Controllers like the ESP32 or Raspberry Pi operate at 3.3V logic.
- Small DC hobby motors typically operate between 3V and 12V.
If your voltage is too low, components will not start or will underperform. If your voltage is too high, you risk permanently burning out your microchips.
Current (A or mA)
Current measures the rate of flow of electricity, expressed in Amperes (A) or milliamperes (mA), where $1\text{ A} = 1000\text{ mA}$.
Components pull only as much current as they need. While voltage is pushed by the battery, current is drawn by the device. For example, if a motor needs 2 Amps to turn under load, your power supply must be capable of providing at least 2 Amps. If the power supply cannot output enough current, the voltage will drop—causing microcontrollers to crash.
Robots experience two types of current draw:
- Continuous Current: The typical current draw during normal operation.
- Stall / Peak Current: The maximum current drawn when a motor starts up or is forcibly blocked from spinning. Peak current can be 3 to 10 times higher than continuous current!
Capacity (mAh or Ah)
Battery capacity measures how much energy a battery holds, expressed in milliampere-hours (mAh) or Ampere-hours (Ah).
A $2000\text{ mAh}$ ($2\text{ Ah}$) battery can theoretically deliver:
- $2000\text{ mA}$ ($2\text{ A}$) of current for 1 hour.
- $1000\text{ mA}$ ($1\text{ A}$) of current for 2 hours.
- $500\text{ mA}$ ($0.5\text{ A}$) of current for 4 hours.
Higher capacity means longer runtime, but usually results in a heavier and larger battery.
2. The Golden Rule: Separate Logic and Motor Power
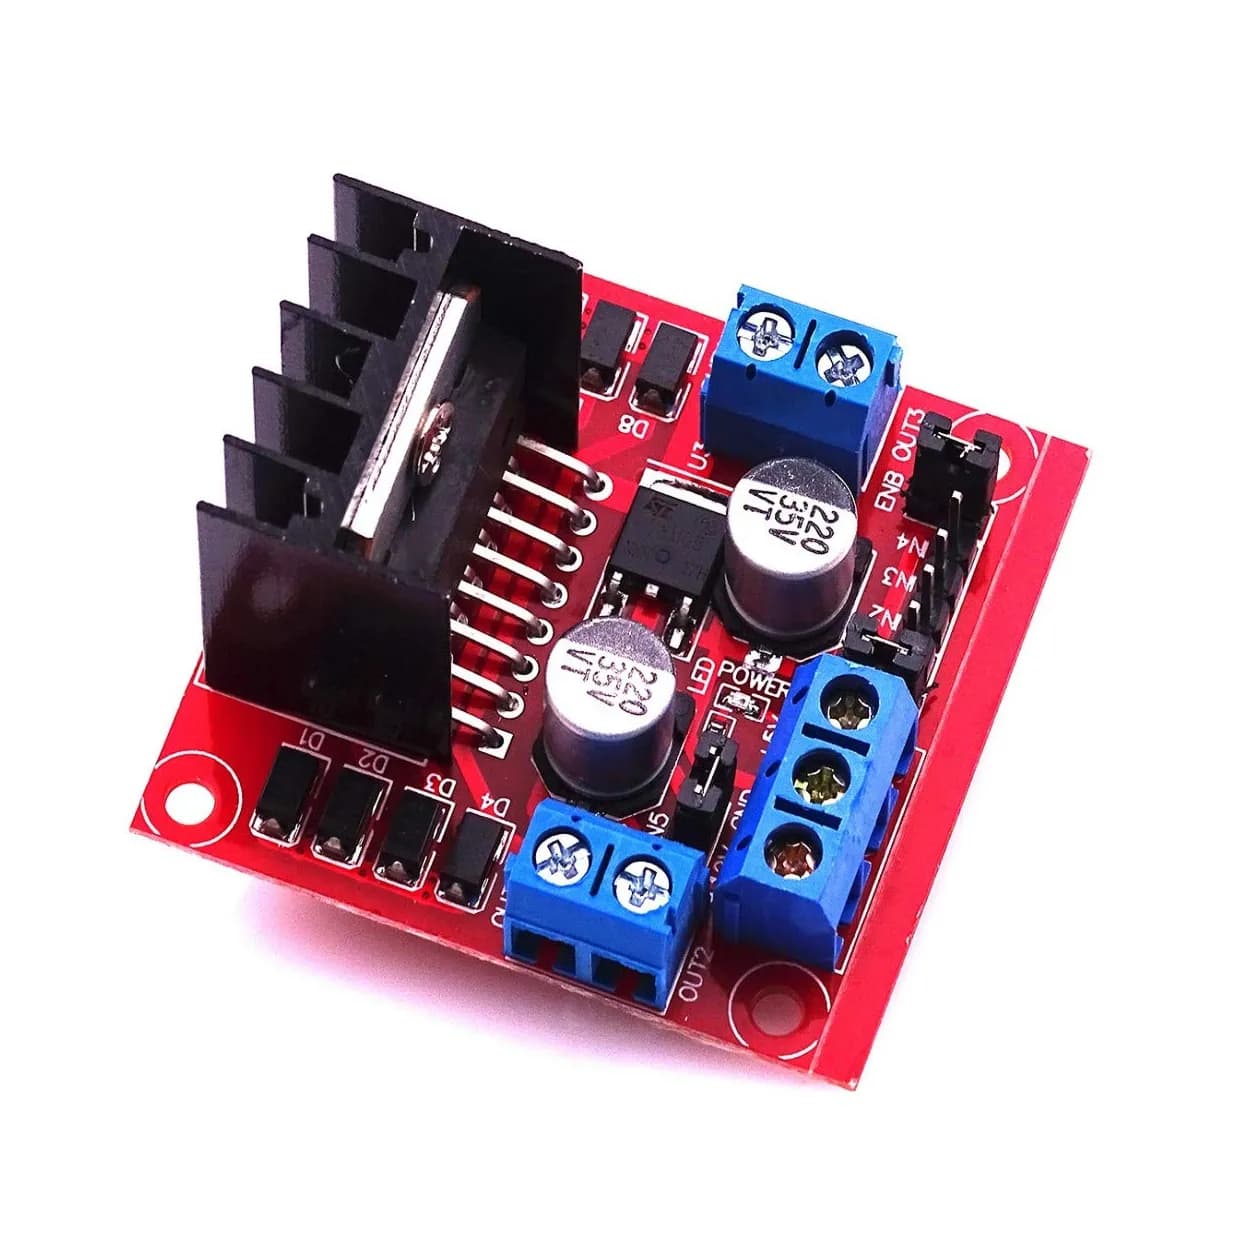
The single most common mistake beginners make is attempting to power high-draw motors directly from a microcontroller's 5V pin.
Microcontrollers are designed for computing and processing signals, not for outputting heavy electrical power. The onboard voltage regulator on an Arduino or ESP32 can usually supply only a few hundred milliamperes. A single small DC motor or RC servo can easily pull over $1000\text{ mA}$ under load.
Why You Need Dual Power Lines
When a motor turns on or changes direction, it causes a sudden spike in current demand. This spike momentarily drains the available voltage—a condition known as a brownout. When a microcontroller experiences a brownout, its safety circuit forces a system reboot.
To prevent random resets:
- Isolate Motor Power: Connect high-current components (motors, servos, relays) to a dedicated high-current power bus or separate power source.
- Protect Logic Power: Provide a clean, regulated power supply to your microcontroller and sensors.
- Connect Common Ground (GND): Even if you use two separate batteries—one for motors and one for your microcontroller—you must connect their Ground (GND) wires together. A common ground reference is necessary so control signals can travel between the controller and the motor driver.
       +------------------------------------+
       |  Logic Power (e.g., 5V / USB)      |
       +-----------------+------------------+
                         |
                         v
             +-----------------------+
             |    Microcontroller    |
             +-----------+-----------+
                         | (Control Signals)
                         v
             +-----------------------+
+------------+     Motor Driver      |<-----------+
|            +-----------+-----------+            |
|                        |                        |
|                        v                        |
|             +-----------------------+           |
|             |        Motors         |           |
|             +-----------------------+           |
|                                                 |
|  +-------------------------------------------+  |
+->| Motor Power (e.g., 7.4V Li-ion / NiMH)    |--+
   +-------------------------------------------+
3. Selecting the Right Battery Chemistry
Not all batteries are created equal. The ideal power source for your project depends on your robot's weight, size, current requirements, and budget.
Standard 9V Transistor Batteries (Avoid for Motors)
The rectangular 9V battery is a popular choice for beginners because it is accessible, but it is one of the worst choices for robotics. 9V batteries are designed for low-drain devices like smoke detectors. They have very high internal resistance and very low capacity (around 400–500 mAh). When connected to a motor, their voltage rapidly drops, making them incapable of running motors reliably.
AA / AAA Batteries (Alkaline or NiMH)
Standard AA batteries are beginner-friendly and widely available.
- Alkaline AA (1.5V per cell): A pack of 4xAA provides 6V, while 6xAA provides 9V. Good for basic, non-rechargeable prototypes.
- NiMH Rechargeable AA (1.2V per cell): Nickel-Metal Hydride batteries are safer than lithium chemistry and can deliver significantly higher discharge currents than alkaline cells. A 4xAA NiMH pack provides roughly 4.8V nominal, ideal for standard servos.
Lithium-Ion (18650 Cells)
Lithium-ion (Li-ion) 18650 cells have become the standard for modern hobby robotics.
- Nominal Voltage: 3.7V per cell (4.2V fully charged, 3.0V fully discharged).
- Configuration: Connecting two 18650 cells in series ($2S$) yields a nominal voltage of 7.4V, which matches most standard motor drivers and microcontrollers equipped with a raw voltage input ($V_{IN}$).
- Pros: High energy density, rechargeable, affordable, and readily available.
Lithium-Polymer (LiPo)
LiPo batteries are widely used in drones and high-performance mobile robots.
- Nominal Voltage: 3.7V per cell (labeled as 1S = 3.7V, 2S = 7.4V, 3S = 11.1V).
- Pros: Extremely high current discharge capability (high "C-rating") and lightweight construction.
- Cons: Fragile, sensitive to over-discharging or over-charging, and require specialized balance chargers and safe handling.
4. Comparing Battery Options
Use this quick reference table to evaluate which battery type fits your robot best:
| Battery Type | Voltage (Per Cell) | Rechargeable? | Discharge Current Capacity | Beginner Safety Rating | Ideal Use Case |
|---|---|---|---|---|---|
| 9V Rectangular | 9.0V | Usually No | Extremely Low | High | Simple circuit testing, logic-only |
| AA Alkaline | 1.5V | No | Low to Moderate | High | Small stationary circuits, simple toys |
| AA NiMH | 1.2V | Yes | Moderate to High | High | Small wheeled robots, RC servos |
| Li-ion (18650) | 3.7V | Yes | High | Moderate (requires BMS) | Small to mid-sized ground robots |
| LiPo Pack | 3.7V | Yes | Very High | Low (requires active care) | Combat robots, drones, high-torque systems |
5. Voltage Regulation: Step-Down (Buck) vs. Linear Regulators
Batteries rarely output the exact voltage your electronics require throughout their discharge cycle. A 2S Li-ion battery starts at 8.4V fully charged and drops down to 6.0V as it empties. To keep your electronics working reliably, you need voltage regulators.
Linear Regulators (e.g., L7805 / Onboard Microcontroller Regulators)
Linear regulators step down higher voltages by dumping the excess energy as heat.
- Formula: $\text{Heat Power Dissipated} = (V_{in} - V_{out}) \times I_{load}$
- If you feed 12V into a 5V linear regulator pulling $1\text{ A}$, the regulator wastes $(12 - 5) \times 1 = 7\text{ Watts}$ of energy purely as heat!
- Verdict: Good for low-current logic circuits ($<100\text{ mA}$), inefficient for high-current applications.
Switching Regulators: Buck and Boost Converters
Switching regulators rapidly switch current on and off to step voltage up or down efficiently (typically 85% to 95% energy efficiency).
- Buck Converters (Step-Down): Takes a higher battery voltage (e.g., 7.4V to 12V) and efficiently reduces it down to a steady 5V or 3.3V for microcontrollers or servos.
- Boost Converters (Step-Up): Takes a lower battery voltage (e.g., 3.7V from a single Li-ion cell) and steps it up to 5V or 12V.
Recommendation: Include an inexpensive DC-DC Buck Converter module in your robot to supply clean 5V to your controller and sensors while drawing power directly from your primary battery pack.
6. Common Power Mistakes to Avoid
- Powering Servos directly from an Arduino 5V Pin: An Arduino's 5V pin can safely supply around 150–200 mA. A single SG90 micro servo can draw up to 650 mA under load. Always power servos from an external power rail.
- Missing Common Ground: If your microcontroller runs off a USB cable and your motor driver runs off a 12V power supply, you must connect the USB system ground to the 12V ground. Without it, the signal logic levels will float, causing unpredictable motor behavior.
- Over-discharging Lithium Batteries: Discharging a Li-ion or LiPo cell below roughly 3.0V permanently damages its chemical structure and reduces its lifespan. Always use a battery holder with a built-in Protection Board (BMS) or a low-voltage alarm.
- Neglecting Peak Motor Currents: Selecting a power supply rated only for your motors' idle current will result in system crashes whenever the motors start moving under heavy load.
7. Battery Safety for Beginners
Working with high-energy-density batteries like Li-ion and LiPo requires basic safety protocols:
- Use Fuses: Place an inline fuse (e.g., 3A to 10A automotive fuse) on the positive (+) wire coming out of your battery pack. If a wire short-circuits, the fuse will blow safely before wires melt or batteries catch fire.
- Use Dedicated Chargers: Never charge Lithium-based batteries using generic power adapters. Always use standard chargers designed for your specific battery chemistry.
- Add a Master Power Switch: Ensure your robot has a clear, accessible physical switch to disconnect the main power supply instantly in case of a short circuit or unexpected code behavior.
8. Frequently Asked Questions (FAQ)
Can I power my robot using a USB Power Bank?
Yes! USB power banks output a steady, regulated 5V output and have built-in safety protection. They are excellent for powering microcontrollers, sensors, and low-power servomotors. However, some power banks shut off automatically if the current draw is too low, so test them with your setup before committing to a design.
Why does my microcontroller reboot whenever my motors turn on?
This is caused by a voltage drop (brownout) due to high initial motor current draw. To fix this, use a separate power rail or battery for the motors, ensure you have a common ground, or add a large capacitor (e.g., $470\mu\text{F}$ to $1000\mu\text{F}$) across the logic power rails to absorb transient voltage dips.
What does the "C-Rating" on a LiPo battery mean?
The C-Rating indicates how fast a battery can safely discharge relative to its capacity. Maximum continuous output current is calculated as: $$\text{Max Current (A)} = \frac{\text{Capacity (mAh)}}{1000} \times \text{C-Rating}$$ For example, a $1000\text{ mAh}$ battery rated at $20\text{C}$ can safely deliver up to $1.0\text{ A} \times 20 = 20\text{ Amps}$ of current.
Summary Checklist for your First Robot
To successfully power your robotics project:
- Determine your voltage levels: Identify the required voltage for your microcontroller (3.3V / 5V) and motors (6V – 12V).
- Calculate peak current: Ensure your battery and wiring can supply enough peak current without dropping voltage.
- Separate motor and logic lines: Use a high-efficiency buck converter or dedicated dual power lines to shield logic circuits from motor noise.
- Tie all grounds together: Always connect the negative (-) terminals of all power supplies together.
- Practice safety: Include a power switch, fuse, and low-voltage protection for your batteries.
By planning your power system with the same attention you give to your code and mechanical frame, you will avoid mysterious bugs, prevent burnt electronics, and build reliable robots that perform consistently.