Introduction to Microcontrollers: A Beginner's Guide to Embedded Electronics
Learn the fundamentals of microcontrollers, how they differ from microprocessors, key internal components, popular development boards like Arduino and ESP32, and how to build your first project.

Microcontrollers are the invisible brains powering modern technology. From smart coffee machines and digital watches to automotive control units and industrial robots, these tiny electronic chips execute specialized tasks seamlessly behind the scenes.
If you are new to electronics or robotics, understanding microcontrollers is the single best starting point. This guide explains what microcontrollers are, how they work, their key internal components, how they compare to traditional computers, and how you can start programming your own.
What Is a Microcontroller?
A microcontroller (often abbreviated as MCU) is a compact integrated circuit (IC) designed to govern a specific operation in an embedded system. Unlike a personal computer, which can run a wide variety of unpredictable software applications simultaneously, a microcontroller typically runs one dedicated program created for a specific hardware purpose.
A standard microcontroller combines three fundamental computing components onto a single silicon chip:
- Central Processing Unit (CPU): Executes code instructions and performs calculations.
- Memory: Stores the program code and runtime variables.
- Input/Output (I/O) Peripherals: Communicates with external components like switches, sensors, displays, and motors.
Because all these functions exist on a single chip, microcontrollers are low-cost, energy-efficient, and physically compact, making them ideal for embedded systems.
Microcontroller vs. Microprocessor: What Is the Difference?
Beginners often confuse microcontrollers with microprocessors. While both execute instructions, their architecture and intended applications are significantly different.
- Microprocessor (MPU): Contains only the CPU on the chip. It relies on external chips for RAM, storage, and I/O interfaces. Examples include the Intel Core or AMD Ryzen processors inside desktop computers, or the ARM chips powering desktop-class single-board computers like the Raspberry Pi 4.
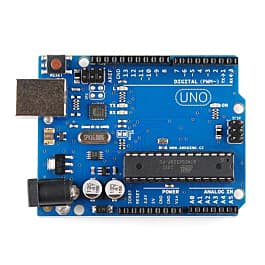
- Microcontroller (MCU): An all-in-one computer-on-a-chip. It integrates CPU, memory, and I/O on a single silicon die. Examples include the ATmega328P used on the classic Arduino Uno, or the Espressif ESP32.
Here is a side-by-side comparison to make the distinction clear:
| Feature | Microcontroller (MCU) | Microprocessor (MPU) |
|---|---|---|
| Architecture | All-in-one chip (CPU, RAM, Flash, I/O) | CPU chip only (requires external RAM, ROM, I/O) |
| Primary Task | Single dedicated control task | Complex general-purpose computing |
| Power Consumption | Very low (milliwatts or microwatts) | Moderate to High (Watts to tens of Watts) |
| Cost | Inexpensive (often less than a few dollars) | Higher cost |
| Clock Speed | Megahertz range (e.g., 16 MHz to 240 MHz) | Gigahertz range (e.g., 1.5 GHz to 5.0+ GHz) |
| Typical OS | None (Bare-metal code) or Real-Time OS (RTOS) | Full Operating System (Linux, Windows, macOS) |
| Example Devices | Arduino Uno, ESP32, STM32 | Intel Core i7, Apple M-series, Raspberry Pi |
Key Components Inside a Microcontroller
To understand how a microcontroller operates, it helps to look inside the chip architecture. A typical MCU includes several internal blocks connected via internal data buses:
1. Central Processing Unit (CPU)
The CPU is the execution engine of the MCU. It fetches instructions from program memory, decodes them, and executes mathematical and logical operations. Microcontroller CPUs range from simple 8-bit cores to advanced 32-bit ARM Cortex processors.
2. Memory Architecture
Microcontrollers contain two primary types of internal memory:
- Flash Memory (Program Memory): Non-volatile memory where your written code is saved. Flash memory retains its data even when power is turned off.
- SRAM (Static RAM / Data Memory): Volatile memory used to store temporary variables, stack data, and registers during program execution. SRAM loses its content when power is removed.
- EEPROM (Electrically Erasable Programmable Read-Only Memory): Some MCUs include a small amount of non-volatile EEPROM to store configuration parameters that must survive power cycles.
3. General-Purpose Input/Output (GPIO) Pins
GPIO pins connect the microcontroller core to external hardware:
- Digital Inputs: Read binary states, such as whether a button is pressed (HIGH = 1) or released (LOW = 0).
- Digital Outputs: Send binary signals to control external components, such as turning an LED on or off or toggling a relay.
4. Analog-to-Digital Converter (ADC)
Most real-world physical quantities (such as temperature, light levels, or voltage) are analog signals. Because microcontrollers only process digital binary values (0 and 1), an internal ADC converts fluctuating analog voltage levels into digital numbers for the CPU to interpret.
5. Timers and Counters
Timers are built-in hardware blocks that count clock ticks. They allow the microcontroller to measure precise time intervals, generate exact delays, count external events, or output Pulse-Width Modulation (PWM) signals to adjust LED brightness or control servo motor angles without overloading the main CPU.
6. Communication Interfaces
Microcontrollers talk to external sensors, displays, and other microcontrollers using standard hardware communication protocols:
- UART (Universal Asynchronous Receiver-Transmitter): Simple point-to-point serial communication (commonly used to communicate with a computer over USB).
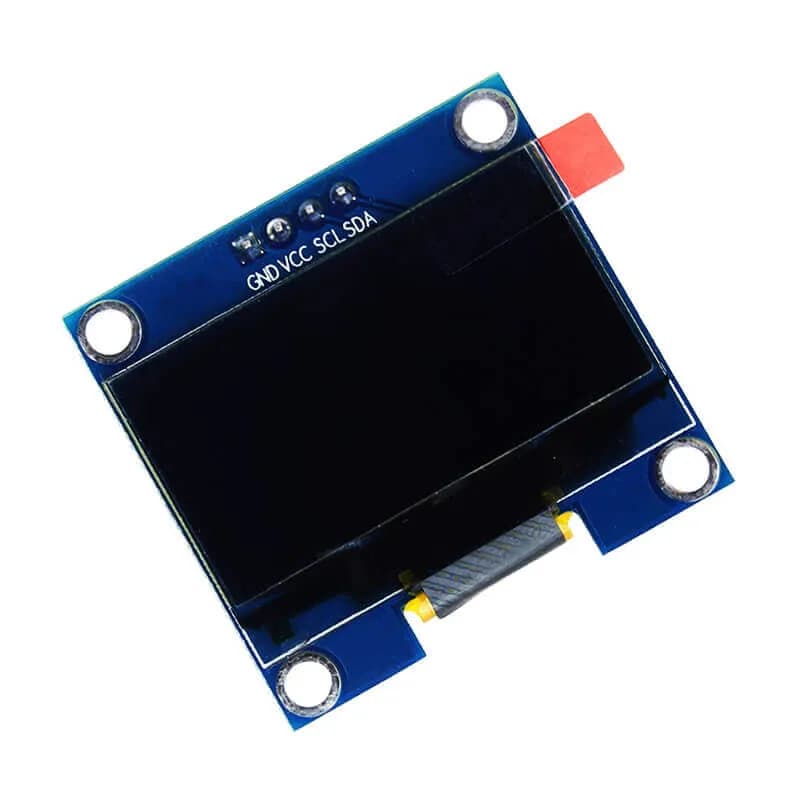
- I2C (Inter-Integrated Circuit): A two-wire serial protocol that allows dozens of sensors and displays to communicate on the same two lines.
- SPI (Serial Peripheral Interface): A fast, four-wire synchronous communication protocol ideal for high-speed displays, SD cards, and memory chips.
Popular Microcontrollers and Development Boards for Beginners
While microcontrollers are standalone chips, beginners usually start with a development board. A development board takes the raw MCU chip and adds convenient USB interfaces, voltage regulators, headers for jumper wires, and status LEDs.
Here are the most popular microcontroller platforms for beginners:
1. Arduino Uno (Microcontroller: ATmega328P)
- Architecture: 8-bit AVR
- Clock Speed: 16 MHz
- Operating Voltage: 5V
- Why it's great: The Arduino Uno is the gold standard for beginners. It features a simple programming environment, massive community support, thousands of open-source libraries, and robust hardware design that tolerates beginner wiring mistakes.
2. ESP32 (Microcontroller: ESP32 dual-core)
- Architecture: 32-bit Tensilica Xtensa
- Clock Speed: Up to 240 MHz
- Operating Voltage: 3.3V
- Why it's great: Extremely powerful and budget-friendly, the ESP32 features built-in Wi-Fi and Bluetooth. It is the premier microcontroller platform for Internet of Things (IoT) projects, smart home devices, and wireless sensors.
3. Raspberry Pi Pico (Microcontroller: RP2040)
- Architecture: 32-bit Dual-core ARM Cortex-M0+
- Clock Speed: 133 MHz
- Operating Voltage: 3.3V
- Why it's great: Designed by the Raspberry Pi Foundation, the RP2040 chip is low-cost, offers flexible Programmable I/O (PIO) state machines, and can be programmed using both C/C++ and MicroPython.
How a Microcontroller Program Works
Microcontroller firmware typically follows an event loop architecture. Unlike desktop applications that open, run, and close, embedded software executes continuously until power is disconnected.
In standard C/C++ platforms like Arduino, microcontroller code is split into two primary functions:
setup(): Runs once when power is applied or the reset button is pressed. Used to set pin modes, initialize sensors, and start communication libraries.loop(): Runs continuously in an infinite loop immediately aftersetup()finishes, reading inputs, processing logic, and controlling outputs over and over again.
Example: Basic LED Blink Code
Here is a standard C++ program used to blink an LED attached to a digital pin:
// Define the digital pin attached to the LED
const int LED_PIN = 13;

void setup() {
  // Configure the GPIO pin as a digital output
  pinMode(LED_PIN, OUTPUT);
}

void loop() {
  digitalWrite(LED_PIN, HIGH); // Send 5V/3.3V to turn the LED on
  delay(1000);                 // Wait for 1000 milliseconds (1 second)

  digitalWrite(LED_PIN, LOW);  // Send 0V to turn the LED off
  delay(1000);                 // Wait for 1 second
}
Essential Safety and Practical Considerations for Beginners
When working with microcontrollers and prototype circuitry, keep these fundamental electrical rules in mind to avoid damaging your hardware:
1. Understand Logic Voltages (5V vs 3.3V)
Different microcontrollers operate on different logic levels. Classic Arduinos operate at 5V logic, while modern chips like ESP32 and RP2040 operate at 3.3V logic. Connecting a 5V signal directly into a 3.3V input pin can permanently damage the 3.3V microcontroller. Always check component datasheets or use logic-level converters.
2. Always Use Current-Limiting Resistors for LEDs
Light Emitting Diodes (LEDs) allow electrical current to flow freely through them with low internal resistance. If you connect an LED directly between a microcontroller GPIO output pin and ground without a resistor, the LED will draw too much current and burn out either the LED or the GPIO pin on your chip. Always place a current-limiting resistor (e.g., 220Ω to 1kΩ) in series with an LED.
3. Mind GPIO Output Current Limits
Individual MCU pins can only supply or sink a limited amount of current (typically between 12mA and 40mA, depending on the chip). Never power high-current devices like DC motors, solenoids, or bright heating elements directly from a GPIO pin. Instead, use the MCU output signal to switch a transistor, MOSFET, or relay that handles the heavy current load.
4. Avoid Floating Inputs
When a digital input pin is not connected to anything (known as "floating"), it picks up ambient electromagnetic noise and rapidly fluctuates randomly between HIGH and LOW. Use internal or external pull-up or pull-down resistors to hold the input pin deterministically at a known state when a switch is open.
Frequently Asked Questions (FAQ)
What is the difference between an Arduino and a microcontroller?
A microcontroller is an individual silicon chip (such as the ATmega328P). An Arduino is a physical development board that houses the microcontroller chip alongside supporting circuitry (power regulation, clock crystal, USB communication interface) to make programming and hardware prototyping easy.
Is a Raspberry Pi a microcontroller?
Most traditional Raspberry Pi models (like the Raspberry Pi 4 or Pi 5) are single-board computers (SBCs) containing microprocessors running a full Linux operating system. However, the Raspberry Pi Pico is a microcontroller board powered by the RP2040 MCU chip.
Do I need to know advanced C++ to start using microcontrollers?
No. Beginner ecosystems like the Arduino IDE simplify C/C++ so you only need basic concepts like loops, conditional statements (if/else), and variable declarations. Alternatively, boards like the ESP32 and Raspberry Pi Pico support MicroPython, allowing you to write embedded programs in Python.
What is the best microcontroller for absolute beginners?
An Arduino Uno or Arduino Nano clone is generally considered the best starting point because of its durable 5V logic, simple IDE, and huge volume of online tutorials. Once comfortable with basic circuits, upgrading to an ESP32 opens up Wi-Fi and IoT project possibilities.
Summary and Next Steps
Microcontrollers form the foundation of modern hardware, robotics, and smart technology. By integrating a CPU, memory, and peripheral pins onto a single chip, they provide a simple, cost-effective way to program physical electronics.
To begin building your own projects:
- Pick up an entry-level development board (such as an Arduino Uno or ESP32 board).
- Download the official free programming software (such as the Arduino IDE).
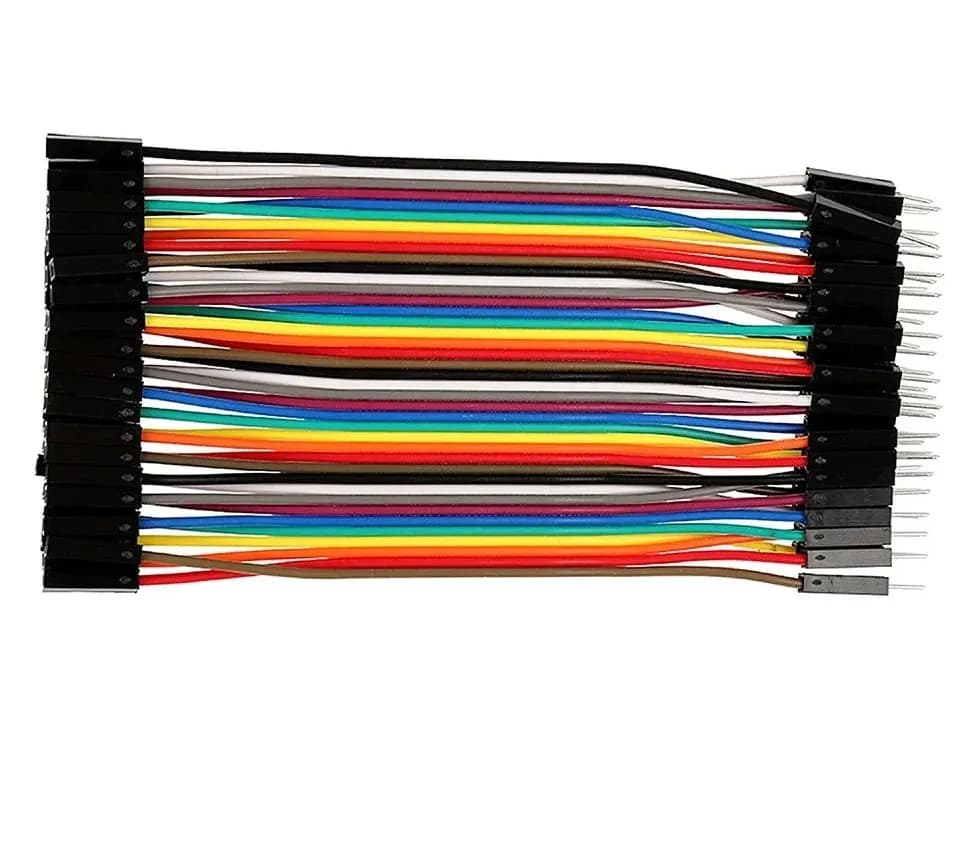
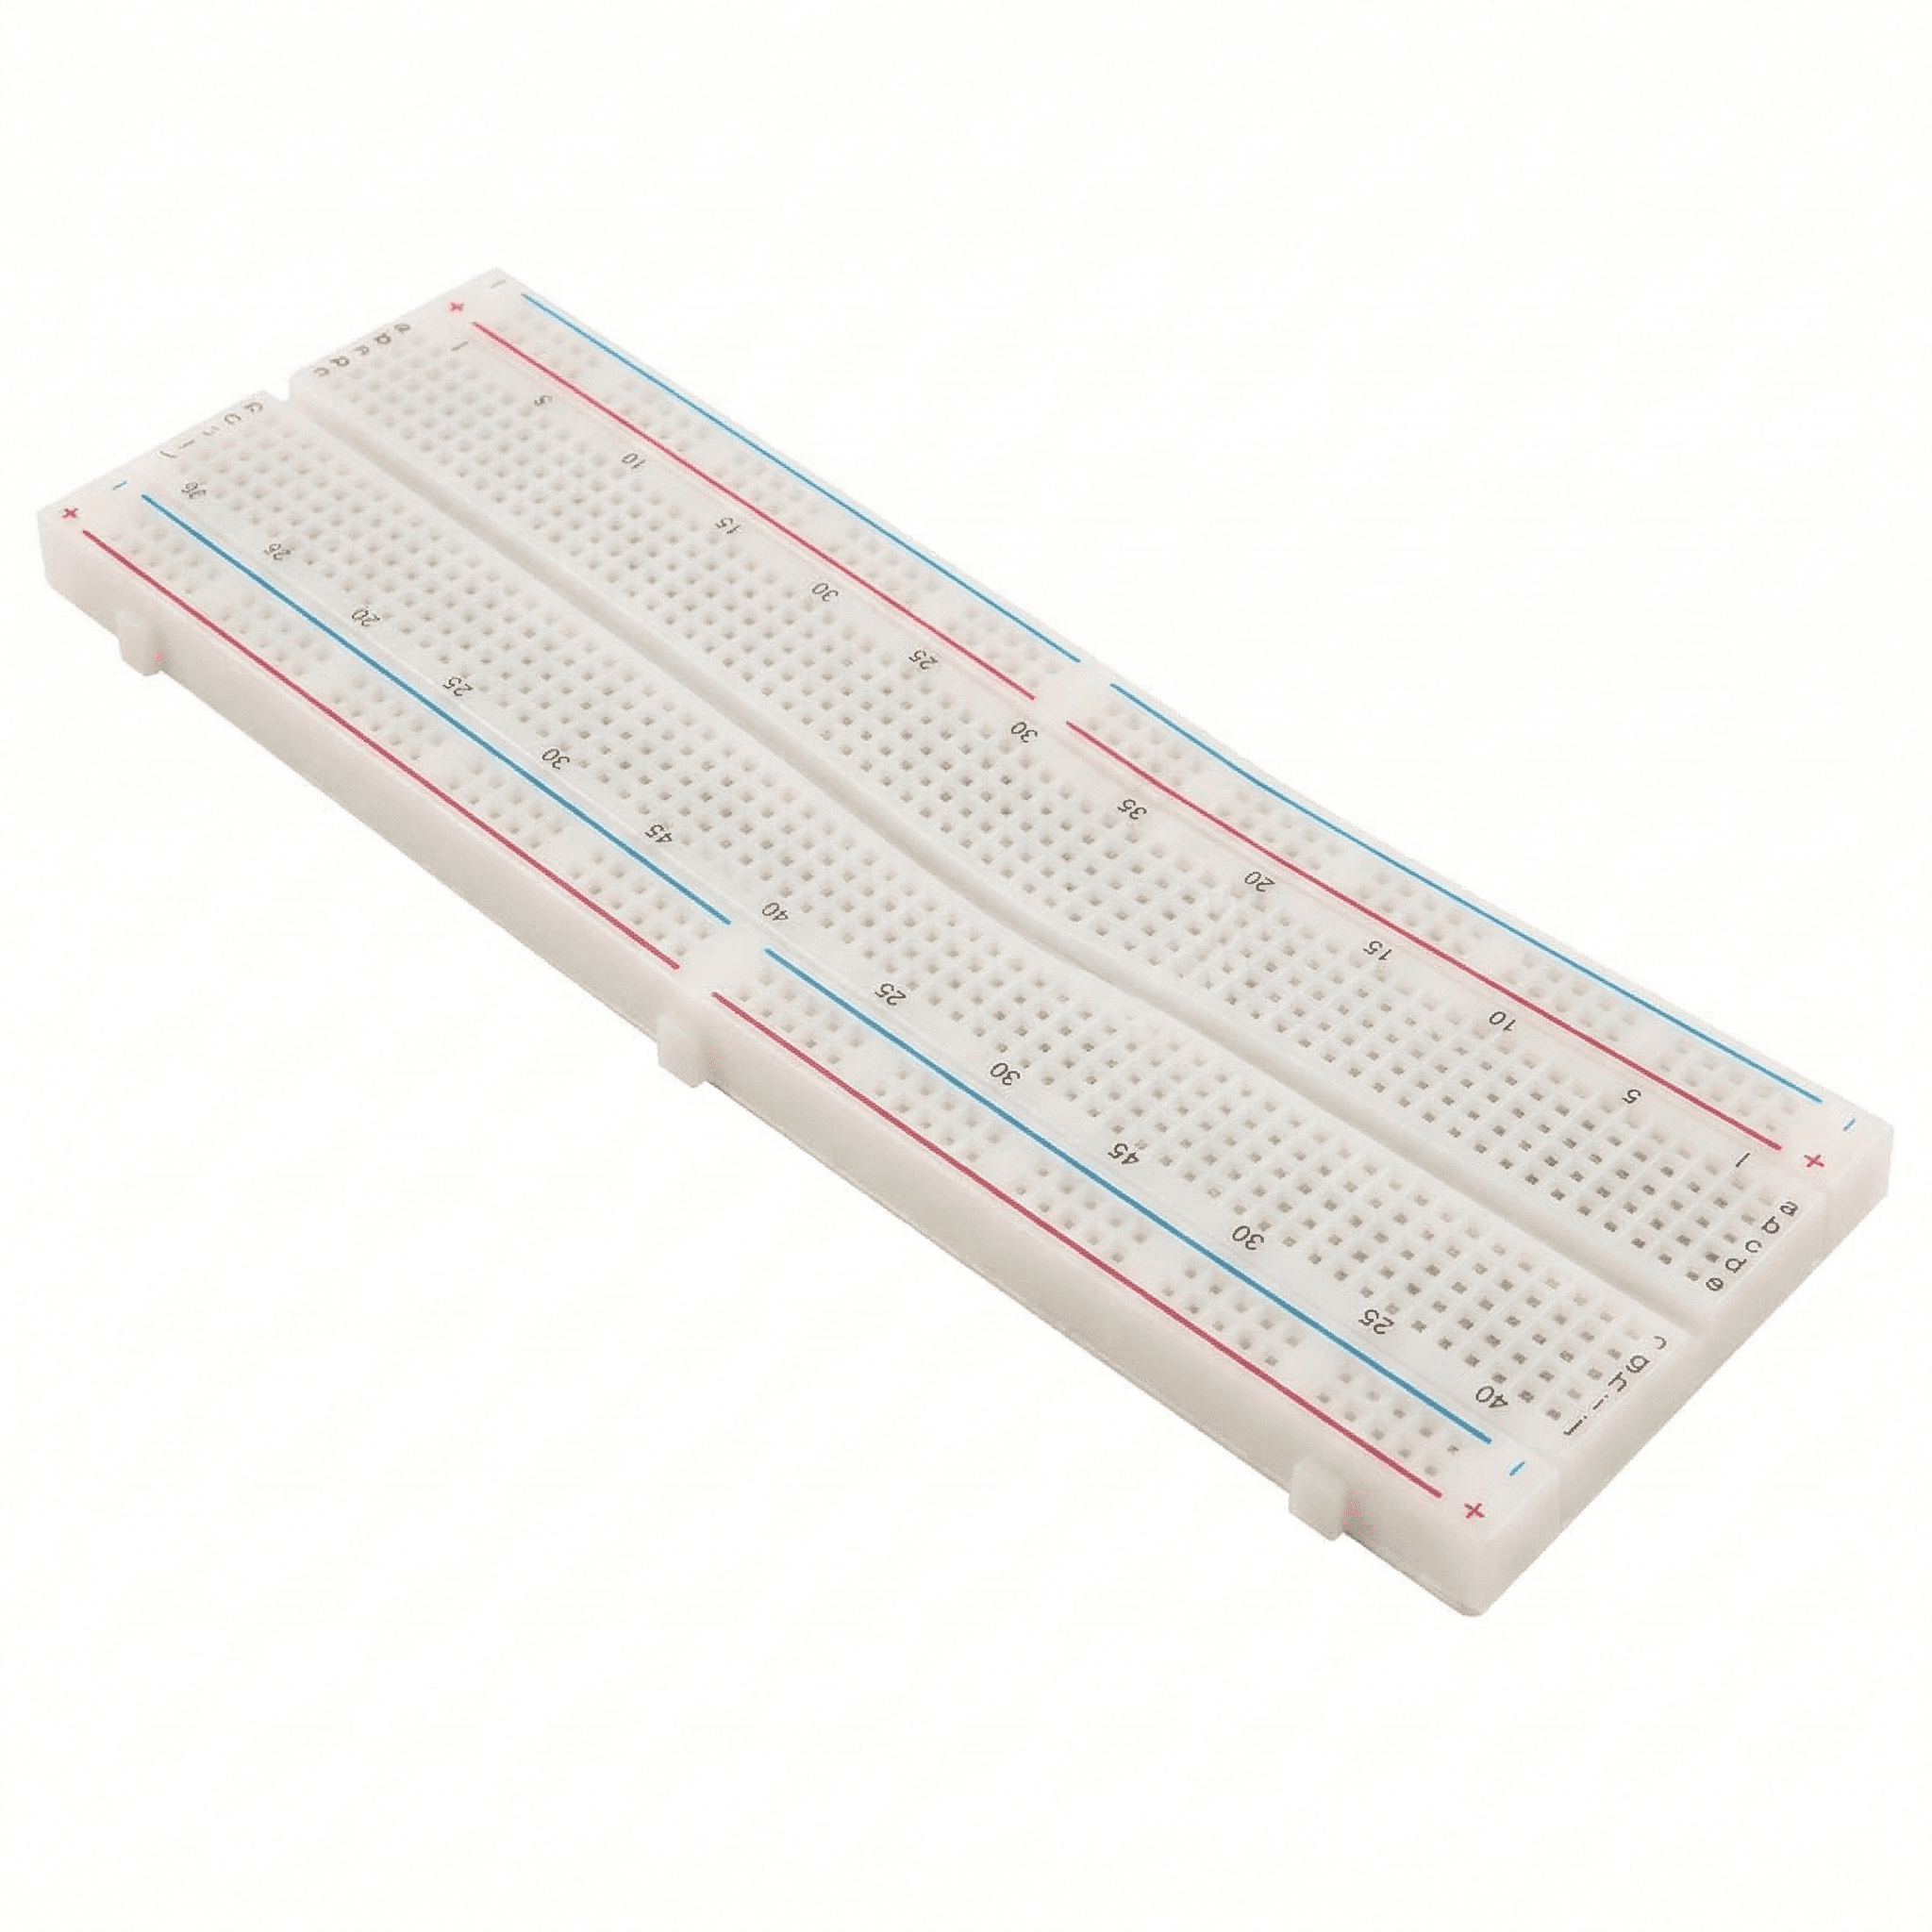
- Connect simple sensors and actuators using a solderless breadboard and jumper wires.
- Experiment with simple starter projects like reading a temperature sensor or controlling a motor.