Top 10 Essential Tools Every Beginner Maker Needs to Get Started
Learn about the 10 indispensable tools every beginner maker needs to build electronics, robotics, and hardware projects safely and effectively.

Entering the maker movement is an exciting journey. Whether you want to build autonomous robots, create custom smart home sensors, or experiment with microcontrollers like Arduino and ESP32, physical computing opens up endless creative possibilities. However, turning digital ideas into functional hardware requires more than code—it requires the right set of tools.
For beginners, walking into a hardware store or browsing online component catalogs can feel overwhelming. With hundreds of specialized instruments available, it is difficult to distinguish between absolute necessities and niche equipment. Starting with a modest, well-chosen selection of fundamental tools saves money, reduces frustration, and prevents accidental damage to sensitive electronics.
This guide details the top 10 essential tools every beginner maker needs, explaining what each tool does, why it matters, and how to use it safely in your workspace.
1. Digital Multimeter (DMM)
If a maker could own only one electronic tool, it should be a digital multimeter. A multimeter acts as your eyes inside an electrical circuit, allowing you to measure properties that are otherwise invisible.
       +-------------------+
       |    [  0.00 V ]    |  <- Digital Display
       |                   |
       |     (  O  )       |  <- Range Dial
       |   V~  V=  A  Ω    |
       +-------------------+
          |     |     |
         COM   V/Ω   mA
          |     |
        [ Black ] [ Red ]    <- Test Probes
Why You Need It
Electronic components operate within strict voltage and current limits. A wrong connection can cause short circuits or burn out microcontrollers. A digital multimeter helps you verify your connections before applying high power, diagnose non-functional circuits, and inspect battery levels.
Key Features to Look For
- Continuity Mode with Beeper: An audible chime alerts you when two points are electrically connected. This is crucial for detecting short circuits and cold solder joints without looking up at the display.
- Auto-Ranging: Automatically selects the appropriate measurement scale (e.g., millivolts vs. volts), making it far easier for beginners to operate.
- Core Measurements: Voltage (DC and AC), Resistance (Ohms, $\Omega$), and Current (Milliamps/Amps).
2. Temperature-Controlled Soldering Iron
Soldering is the process of joining metal components together using a melted filler metal (solder). While breadboards are excellent for temporary testing, permanent projects require reliable soldered connections.
Why You Need It
Headers must be attached to development boards, sensors linked via wire leads, and custom printed circuit boards (PCBs) populated with components. A quality soldering iron ensures robust electrical conductivity and physical stability.
Key Considerations for Beginners
Avoid cheap fixed-wattage "pencil" irons that plug directly into the wall without temperature settings. They often overheat, which can lift copper pads off circuit boards or destroy thermal-sensitive microchips.
- Choose a station or portable iron with adjustable temperature control (typically set between $320^\circ\text{C}$ and $370^\circ\text{C}$ for standard electronics solder).
- Pair your iron with lead-free or rosin-core solder, a brass wire tip cleaner, and a sturdy stand to prevent bench fires.
3. Solderless Breadboard and Jumper Wires
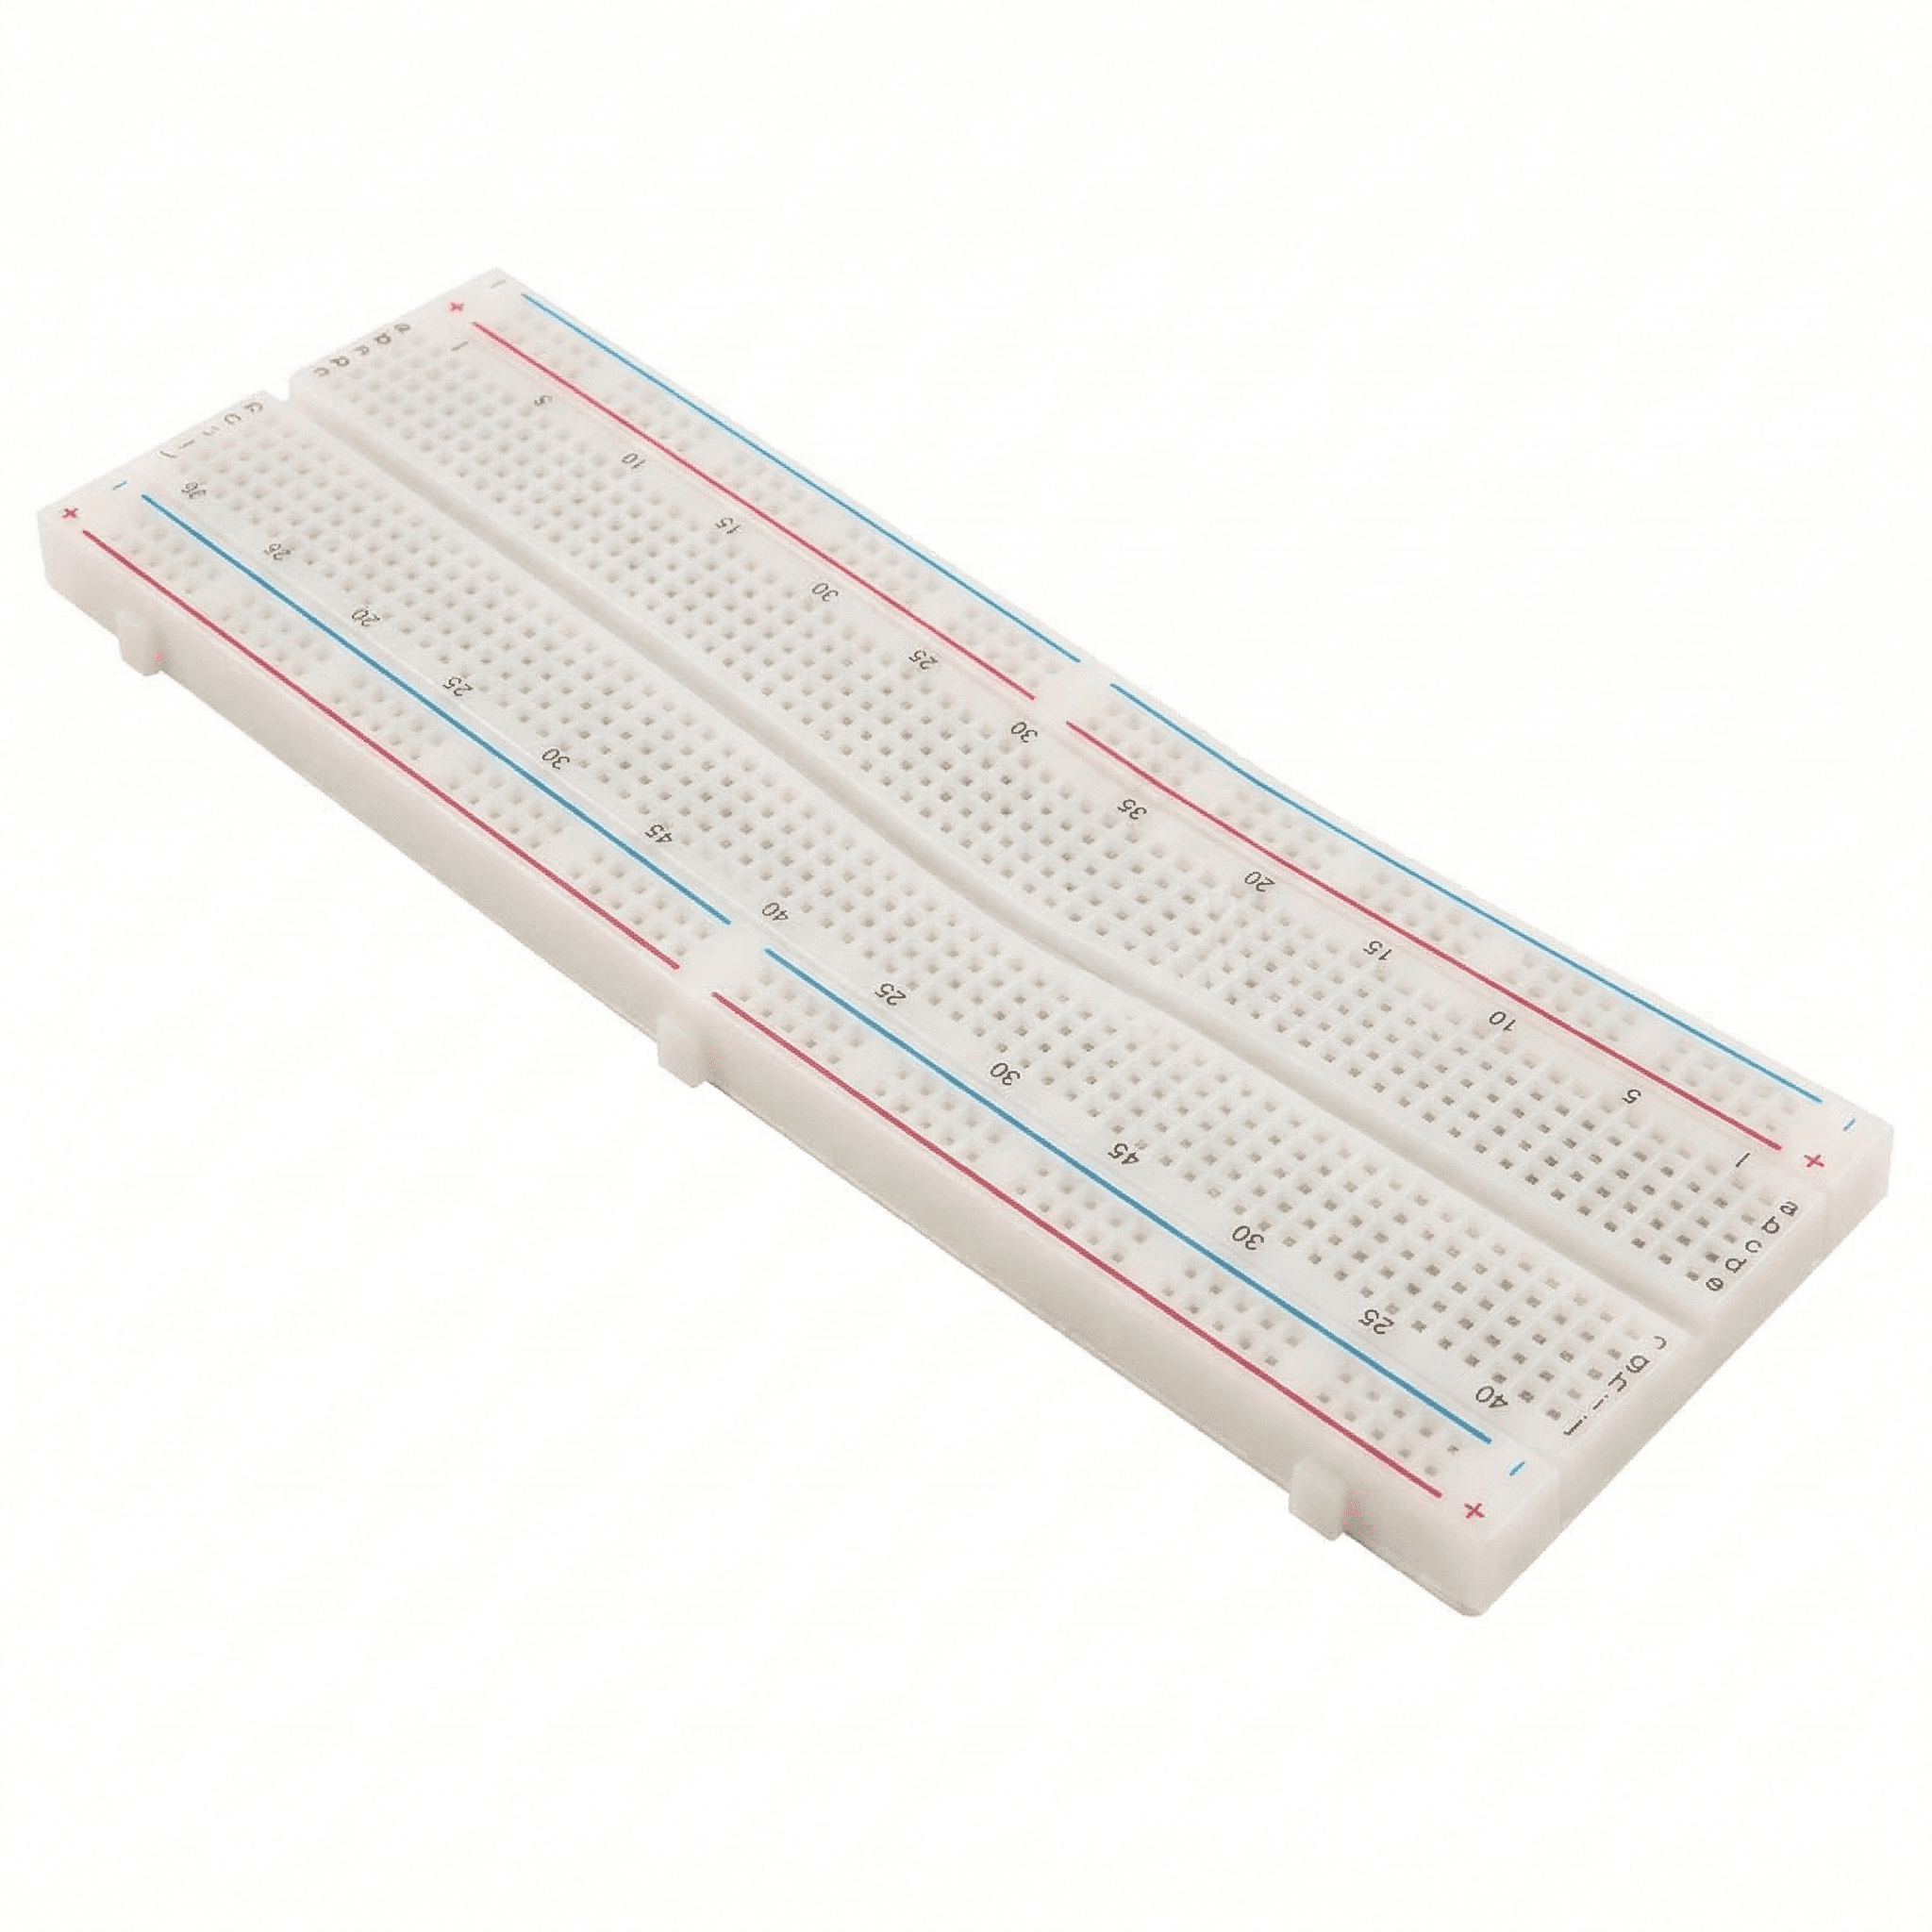
Before committing your design to solder, you need a flexible workspace to prototype circuits rapidly. A solderless breadboard allows you to insert and rearrange components without permanent connections.
          Top Power Rail (+) [-----------------------]
          Top Power Rail (-) [-----------------------]
    a b c d e                         f g h i j
1  [. . . . .]  <-- Internal Strip --> [. . . . .] 1
2  [. . . . .]                         [. . . . .] 2
          Bottom Power Rail (+) [-------------------]
          Bottom Power Rail (-) [-------------------]
Why You Need It
Breadboards use internal spring clips to hold component leads in place, connected in horizontal rows and vertical power rails. They allow beginners to experiment freely, fix mistakes immediately, and test code logic without damaging hardware.
Accessories Required
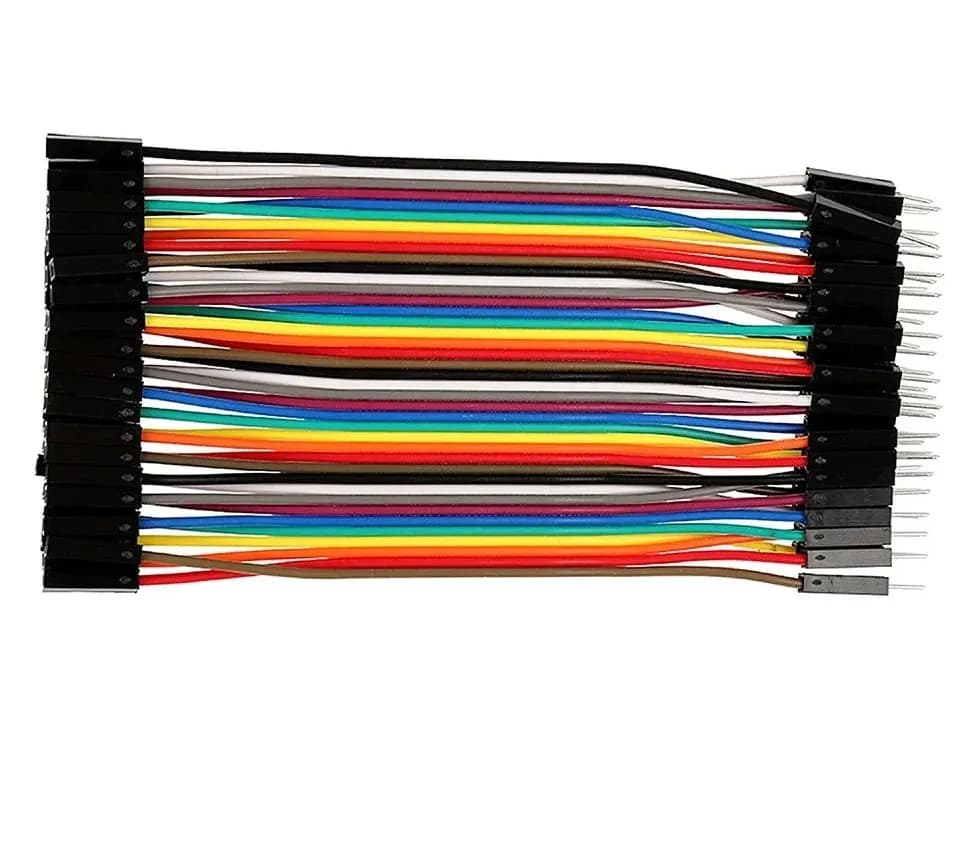
- Male-to-Male (M-M) Jumper Wires: Used to connect holes on the breadboard.
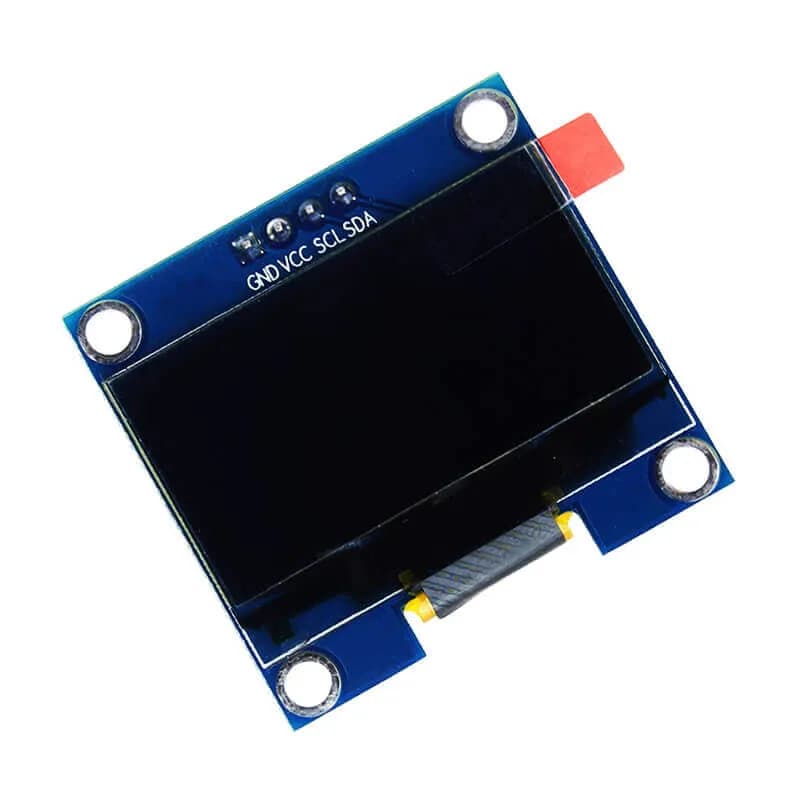
- Male-to-Female (M-F) and Female-to-Female (F-F) Jumpers: Used to connect header pins on sensors, displays, and development boards to your breadboard.
4. Precision Wire Strippers and Flush Cutters
Working with wiring is inevitable in maker projects. Standard scissors or utility knives will nick internal copper strands, leading to weak connections and intermittent hardware failures.
Wire Strippers
Wire strippers feature precisely sized notch blades matching standard American Wire Gauge (AWG) sizes—typically 20 AWG to 30 AWG for benchtop electronics. They cleanly slice through outer PVC insulation without harming the metal conductors inside.
Flush Cutters (Micro Shear Cutters)
Unlike standard pliers, flush cutters feature flat outer blades that cut wire ends flush against a surface. They are vital for trimming component leads close to the solder joint on the back of a PCB, preventing stray leads from touching nearby circuits.
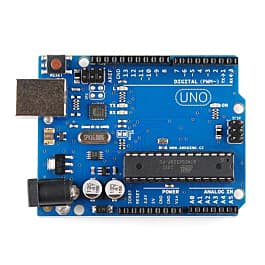
5. Microcontroller Development Board
Hardware tools require intelligence to act upon sensor inputs and control motors. A beginner-friendly development board serves as the central brain for your DIY automation and robotics builds.
Recommended Options for Beginners
- Arduino Uno (or Nano): The gold standard for absolute beginners. It features a robust ecosystem, simple C/C++ programming environment, and extensive community libraries.
- ESP32: Ideal for makers interested in Internet of Things (IoT) projects. It includes built-in Wi-Fi and Bluetooth, higher clock speeds, and low power modes at a very low cost point.
Starting with these boards ensures you will easily find code examples, pinout diagrams, and troubleshooting guides online for almost any component you buy.
6. Precision Screwdriver and Mechanical Pliers Set
Electronics hardware involves small fasteners, tight enclosures, and delicate metal leads that cannot be manipulated comfortably by hand.
Essential Components
- Precision Screwdriver Set: Includes small Phillips (#00, #0), Flathead, and Torx drivers. Modern micro-controllers and 3D-printed enclosures rely heavily on small M2 and M3 machine screws.
- Needle-Nose Pliers: Essential for bending component legs (like resistors and LEDs) into clean $90^\circ$ angles before breadboard insertion, holding small nuts in place, and pulling stubborn jumper wires out of tight spaces.
7. Benchtop DC Power Supply (or Adjustable Power Module)
While microcontrollers can run off a computer's USB port during programming, USB ports supply limited current (typically 500mA for standard USB 2.0). Motors, relays, high-brightness LED strips, and servos require significantly more current and higher operating voltages.
Why You Need It
An adjustable DC power supply lets you dial in the exact voltage required (e.g., 3.3V, 5V, 12V) while monitoring current consumption in real time.
Beginner Alternative
If a dedicated benchtop supply exceeds your initial budget, pick up a Breadboard Power Supply Module. These inexpensive boards plug directly into the side rails of standard solderless breadboards and regulate input from a wall adapter down to switchable 3.3V or 5V rails.
8. Desoldering Pump (Solder Sucker) and Wick
Mistakes happen to everyone—especially beginners learning to solder. You might place a transistor upside down or bridge two adjacent pins with excess solder. Desoldering tools allow you to undo solder joints cleanly.
Desoldering Pump (Solder Sucker):
       +------------------------------------+
 [P]   |=============[ Spring Loaded ]======| [Tip] (Silicone/PTFE)
       +------------------------------------+
       (Press plunger down -> Melt solder -> Release trigger to vacuum)
Tools Explained
- Desoldering Pump (Solder Sucker): A spring-loaded mechanical vacuum device. You heat the joint with your iron, place the nozzle over the liquid solder, and release the trigger to vacuum up molten solder.
- Desoldering Wick (Braid): Fine copper wire woven together and coated with flux. When placed over a soldered joint and heated, capillary action draws molten solder off the board into the copper weave.
9. USB-to-Serial (UART) Adapter and Logic Analyzer
As your projects expand into complex sensors and inter-chip communication, basic LED indicators are no longer enough to diagnose non-responsive systems.
USB-to-Serial Adapter (FTDI / CH340)
Many microchips communicate using Serial UART. A USB-to-Serial converter board allows your computer to speak directly to raw microcontrollers, Bluetooth modules, or GPS units to confirm they are receiving data correctly.
Pocket Logic Analyzer
An inexpensive 8-channel USB logic analyzer captures digital high/low signals traveling across communication buses like I2C, SPI, or UART. By plugging it into a PC, you can visualize the exact data packets sent between devices, revealing baud rate mismatches or protocol errors in seconds.
10. Safety Gear and Workstation Hygiene
Working with high temperatures, flying wire snippets, and chemical fumes demands proper safety precautions from day one.
Must-Have Safety Gear
- Safety Glasses: Essential when trimming component leads with flush cutters (cut ends fly off at high speed) or soldering (to guard against flux splatters).
- Fume Extractor or Desk Fan: Heating flux during soldering releases mild chemical irritants into the air. A simple carbon-filter fan draws fumes away from your face.
- ESD (Electrostatic Discharge) Mat: Protects sensitive microprocessors from static electricity generated by your body or work surface.
Beginner Tool Comparison Table
| Tool Name | Primary Purpose | Required Skill Level | Typical Beginner Pitfall |
|---|---|---|---|
| Digital Multimeter | Measure voltage, current, & continuity | Absolute Beginner | Forgetting to switch probes back from Current (A) to Voltage (V) mode. |
| Soldering Iron | Create permanent electrical joins | Intermediate | Using un-regulated cheap irons that burn circuit boards. |
| Breadboard & Wires | Rapid temporary prototyping | Absolute Beginner | Squeezing thick wire leads into breadboards, damaging internal clips. |
| Flush Cutters | Cut wires & trim component leads | Absolute Beginner | Attempting to cut thick hardened steel screws with soft copper cutters. |
| Microcontroller Board | Controls logic and system inputs/outputs | Beginner to Intermediate | Wiring input pins above the board's rated logic voltage (e.g., 5V into a 3.3V pin). |
| Precision Screwdrivers | Mechanical assembly and enclosure work | Absolute Beginner | Stripping micro-screw heads by using incorrect bit sizes. |
| DC Power Supply | Safely powers high-current components | Beginner to Intermediate | Reversing power polarity ($+$ and $-$), which damages components instantly. |
| Desoldering Pump/Wick | Removes unwanted solder & fixes errors | Intermediate | Holding soldering iron on pads too long, pulling traces off the PCB. |
| Logic Analyzer | Visualizes digital data communications | Intermediate | Connecting signal pins without establishing a common Ground (GND). |
| Safety Glasses & Fan | Protects eyes and lungs from debris/fumes | Absolute Beginner | Neglecting eye protection when snipping springy wire leads. |
Common Tool Pitfalls to Avoid
- Buying Cheap All-in-One Mega Kits: Low-cost kits often include sub-standard soldering irons without thermal safety switches, easily stripped screwdrivers, and uncalibrated multimeters. Invest in decent individual basic tools instead of ultra-cheap bundle sets.
- Ignoring Safety Precautions: Always clip leads pointing downward toward your desk, and never solder over flammable workbench surfaces.
- Overcomplicating the First Project: Pick basic projects (e.g., blinking an LED, reading a temperature sensor) that utilize your basic tools before buying niche gear like oscilloscopes or 3D printers.
How to Set Up Your First Maker Workbench
To build an efficient workspace, organize your tools logically:
+-----------------------------------------------------------+
|                      WORKBENCH TOP                        |
|                                                           |
|  [ Power Supply ]     [ Soldering Station ]   [ Safety ]  |
|                                               (Glasses)   |
|                                                           |
|  +-----------------------------------------------------+  |
|  |                [ ESD MAT WORK AREA ]                |  |
|  |                                                     |  |
|  |   [ Multimeter ]  [ Breadboard ]  [ Wire Cutters ]  |  |
|  +-----------------------------------------------------+  |
+-----------------------------------------------------------+
- Clear Surface: Place a heat-resistant or static-dissipative mat across your desk.
- Dedicated Lighting: Position a bright LED desk lamp directly above your primary assembly area to illuminate small text on chips and solder joints.
- Ventilation: Place your fume extractor fan directly behind your soldering area so it pulls air away from your breathing zone.
- Component Storage: Use small clear-plastic organizer bins to store resistors, capacitors, headers, and jumper wires by category.
Frequently Asked Questions (FAQ)
Do I need an oscilloscope when starting out as a maker?
No. An oscilloscope is valuable for visualizing high-speed analog waveforms and complex signals, but it is expensive and unnecessary for beginner microcontrollers, simple sensors, and basic motor circuits. A digital multimeter and inexpensive logic analyzer are sufficient.
What soldering iron temperature should I use for general electronics?
For standard lead-free electronics solder, a temperature of $350^\circ\text{C}$ to $370^\circ\text{C}$ ($660^\circ\text{F}$ to $700^\circ\text{F}$) works best. If using traditional leaded solder (60/40), a temperature between $315^\circ\text{C}$ and $340^\circ\text{C}$ ($600^\circ\text{F}$ to $640^\circ\text{F}$) is ideal.
Can I build projects without soldering?
Yes. You can complete dozens of electronics and robotics projects using only a solderless breadboard, pre-headered sensor modules, and jumper wires. However, learning to solder becomes necessary when installing projects inside permanent enclosures or designing custom PCBs.
Conclusion
Starting your maker journey does not require thousands of dollars in commercial machinery. By securing these 10 core tools—starting with a multimeter, breadboard, wire tools, and a reliable microcontroller—you gain everything necessary to design, build, test, and debug real-world electronics projects.
Equip your desk thoughtfully, prioritize safety, and start building!